Print Tutorials
Want to print your own artwork but are not sure how to set up the files ready for printing?
Our tutorials cover Adobe Illustrator, Photoshop and InDesign and will have you print ready in no time!
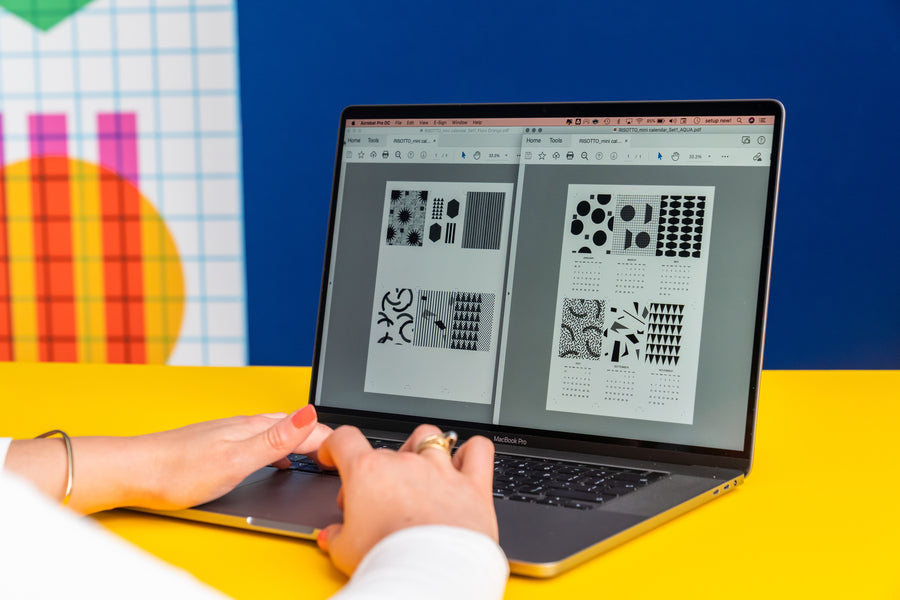
We also have a quick guide to Flattening files in Acrobat, and on using our Print Simulator
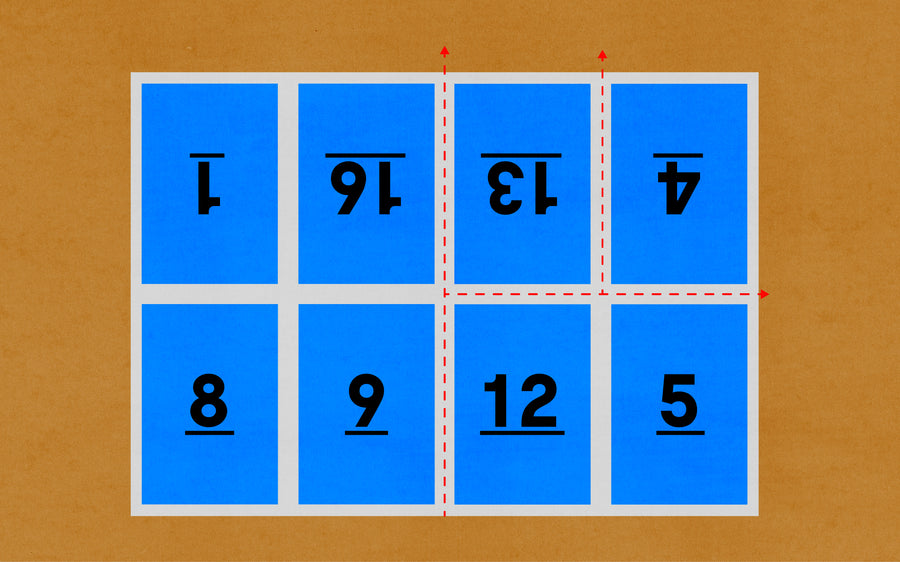
We've got specialist guides on Books and Pagination too.
Want more depth? You can learn though Gabriella's new Online Beginners course too, which also features lots of riso-related gems when working in Illustrator!
↓ Adobe Illustrator Tutorials ↓
Swatches: Installing and using our Risotto Ink Swatches in Ai
Follow this step by step guide on how to import and use our ASE Colour Swatch in Adobe Illustrator
3 Minutes
Registration Black: Setting type to print solid, crisp and clean in Ai
Enhance your artwork and ensure your Text or Graphics don't print 'pixelated', by taking these simple steps in Adobe Illustrator.
1 Minute
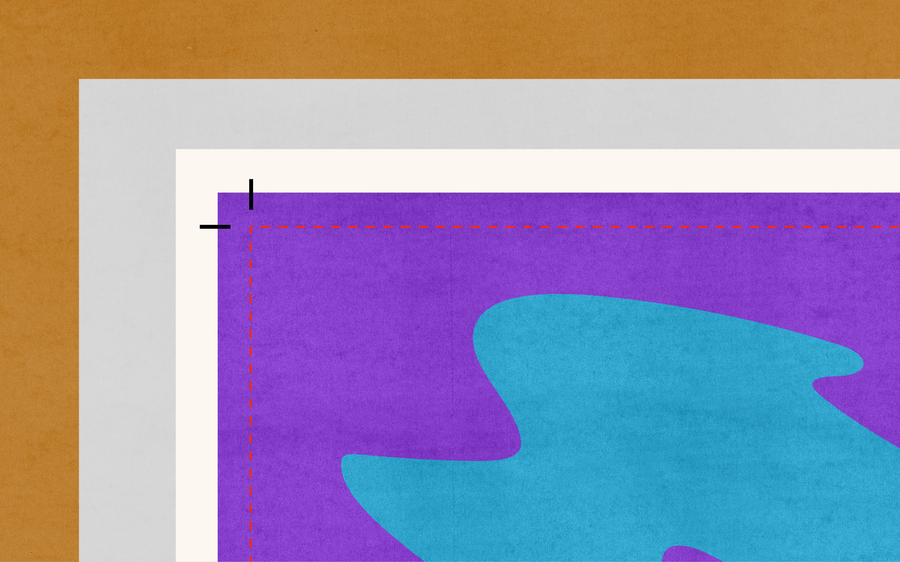
Bleed: Adding bleed to artwork in Ai
If you would like your artwork to have a 'Full-Bleed' finish (no white border) then follow these steps in Adobe Illustrator.
10 Minutes
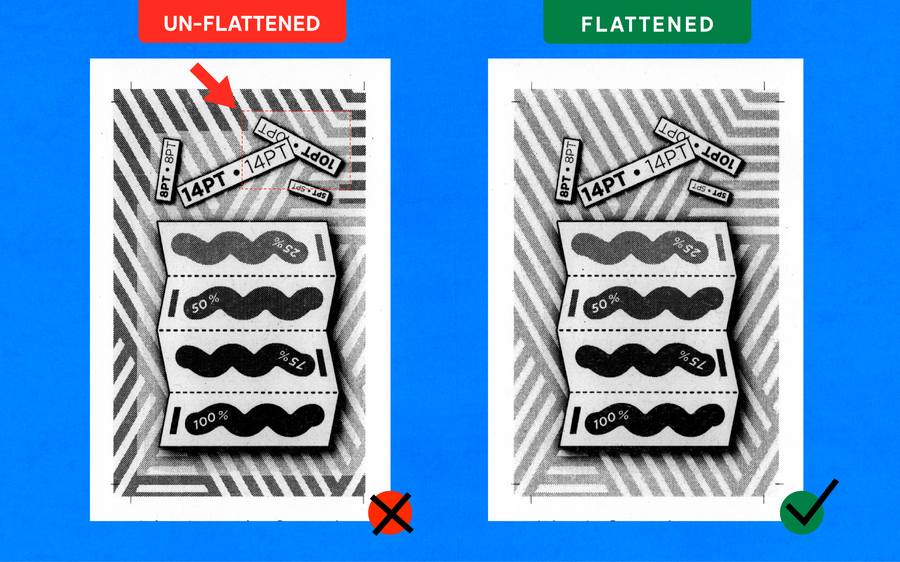
Flattening Files: How to flatten effects & transparencies in Ai
This tutorial explains how to remove effects that can cause unexpected 'Glitches' in print. These aren't visible on screen, but our printer will read them unless they are flattened.
10 Minutes
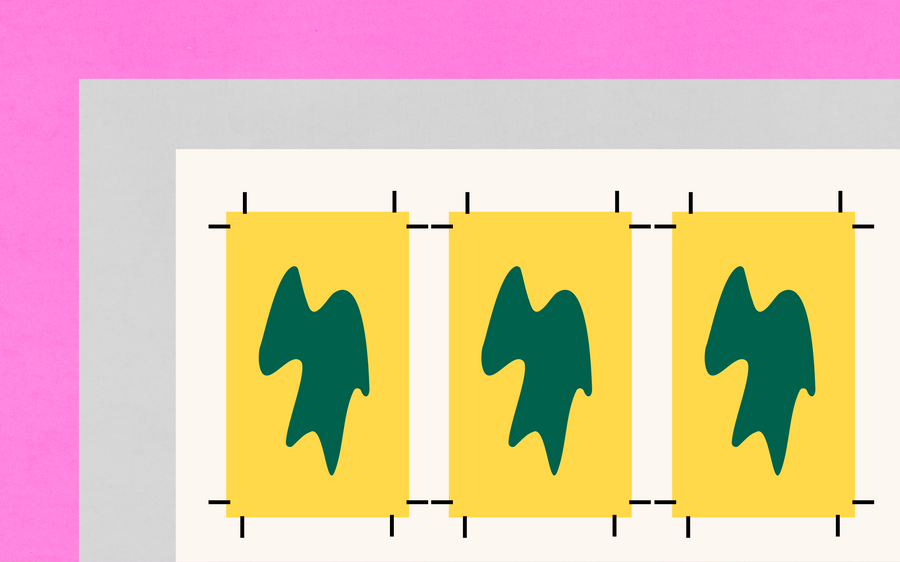
Crop Marks: Adding crop marks to artwork in Ai
Crop marks are only needed if we are going to trim your prints. These lines are positioned in the corners of your artwork, and you can follow this Adobe Illustrator guide if you're unsure on their placement.
10 Minutes
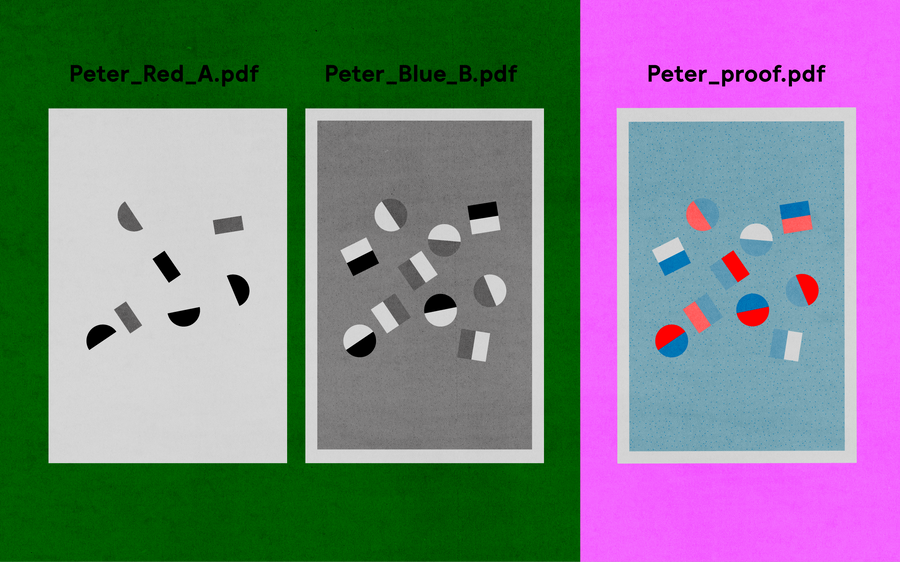
Separations: Creating stencils from vector artwork in Ai
See how to group, and separate graphics in Adobe Illustrator, ready for RISO print!
15 Minutes
↓ Photoshop Tutorials ↓

Swatches: Installing and using our Risotto swatches in Photoshop
This tutorial will take you through the steps of how to use our .ase swatches in photoshop.
10 Minutes

Saving artwork: How to flatten & save files in Photoshop to reduce file size
Many people send us large files, then our printers' struggle to handle. Follow these steps and reduce your file size!
10 Minutes
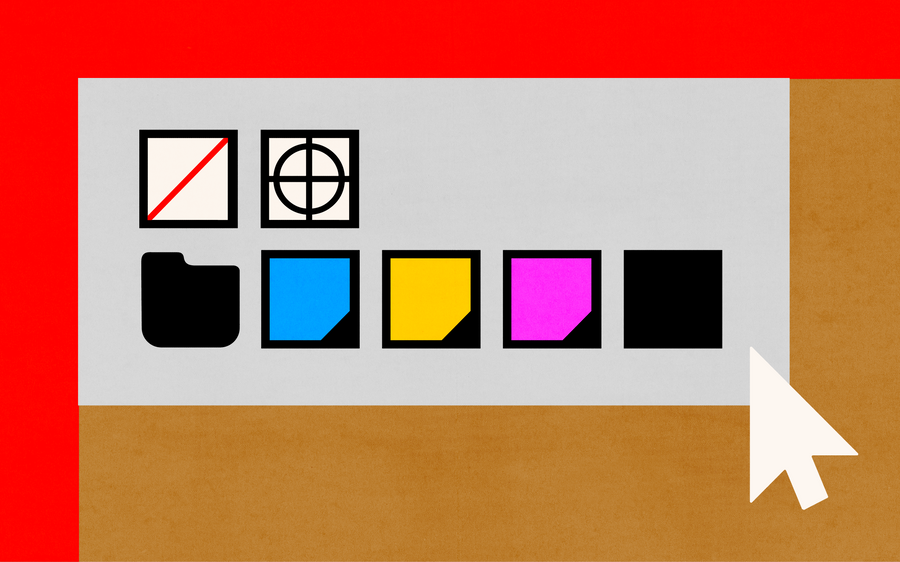
CMYK: Separating and simulating artwork layers in Photoshop
This tutorial will guide you through separating your artwork into four channels: Cyan, Magenta, Yellow and Black.
20 Minutes

Duo Tone: Separating CMYK channels for two colour print in Photoshop
Follow these steps to create a duotone image for riso print. We will use the Photoshop channels to generate your layers.
15 Minutes
↓ InDesign Tutorials ↓
Flattening files in Adobe Acrobat?
Follow our quick guide to flatten artwork in Adobe Acrobat. This is handy if you don't have the Adobe suit like Photoshop or Illustrator.
Heading
Heading
↓ Books + Pagination Guide ↓
↓ Save artwork to use in our Print Simulator ↓
Our unique Print Simulator tool allows you to experiment with different ink colours and paper options for your own artwork. It helps you preview your work before sending it to us to print.
Save Illustrator artwork as PNG to test in our Print Simulator
Step by step Instructions that will allow you to experiment with endless printing combinations!
10 Minutes
Save Photoshop artwork as PNG to test in our Print Simulator
Step by step Instructions that will allow you to experiment with endless printing combinations!
15 Minutes
Use our Print Simulator
The Print Simulator is a tool to allow you to experiment with the process of layering artwork and paper, digitally! Upload your own artwork or play with ours, and see how a print may look when riso printed.
