Back to tutorials
BUSINESS CARDS IN INDESIGN
ARTWORK LAYOUT AND SAVING FILES
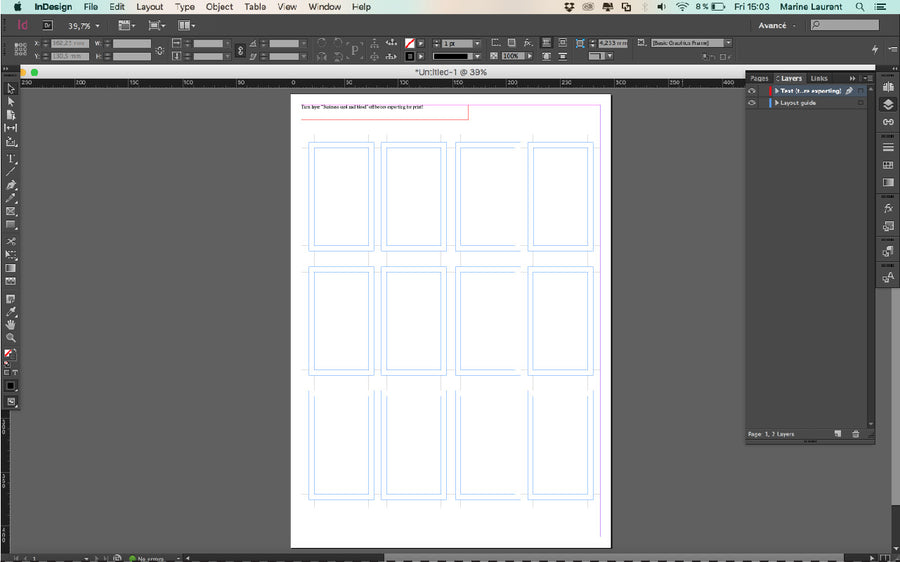
STEP 1: Download our 'Business Card Layout A3 Template' to position artwork correctly within the guides.
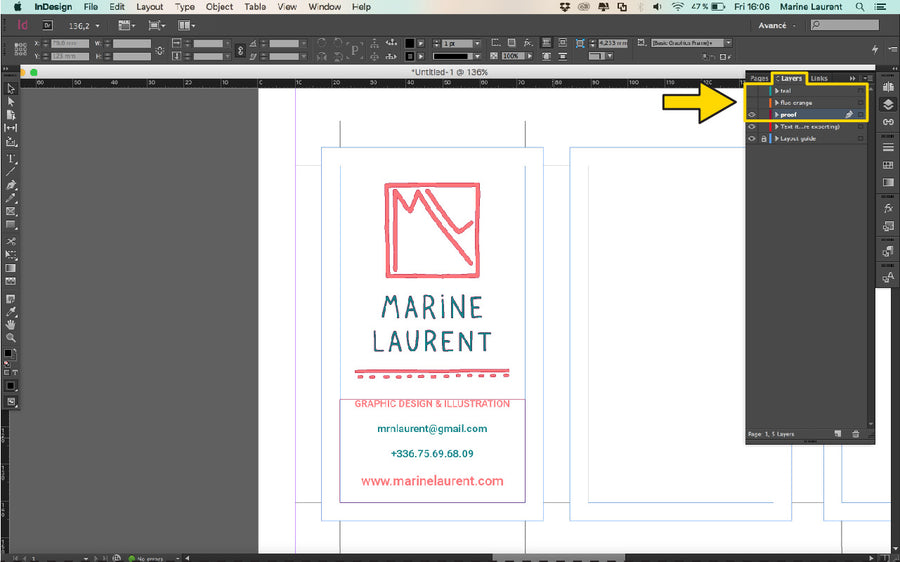
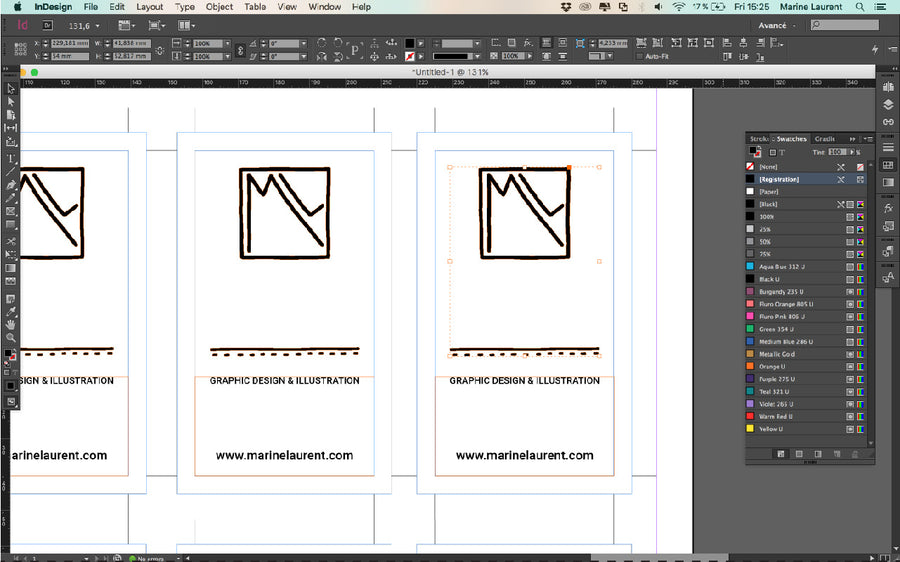
STEP 2: Create your artwork and group the elements into colour layers, and an additional layer with all 2 the colours as a 'Proof
STEP 3:Duplicate this artwork to sit in each bounding box. Remember to keep artwork in separate colour layers.
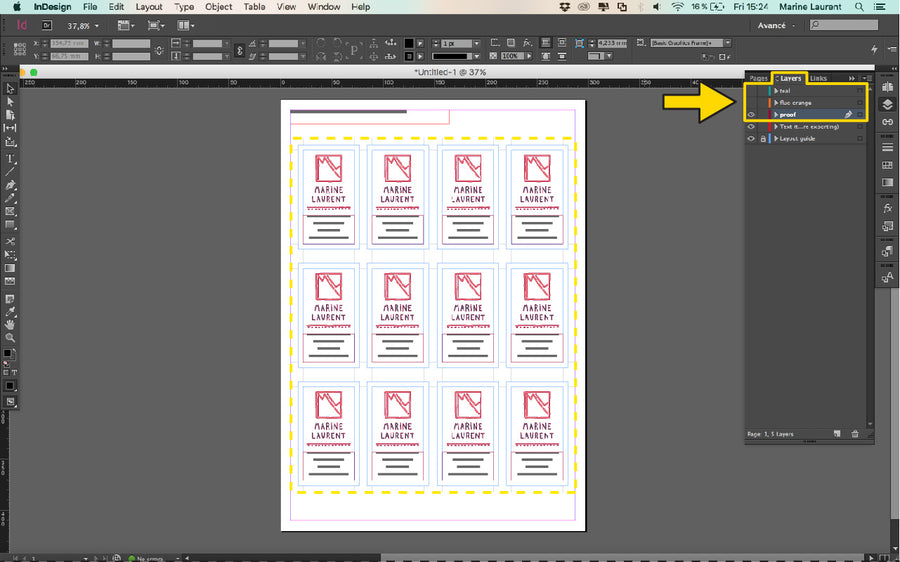
STEP 4:We've started with the orange layer, and converted it to black. You will need to set small text to 'Registration Black' to ensure a crisp quality print.
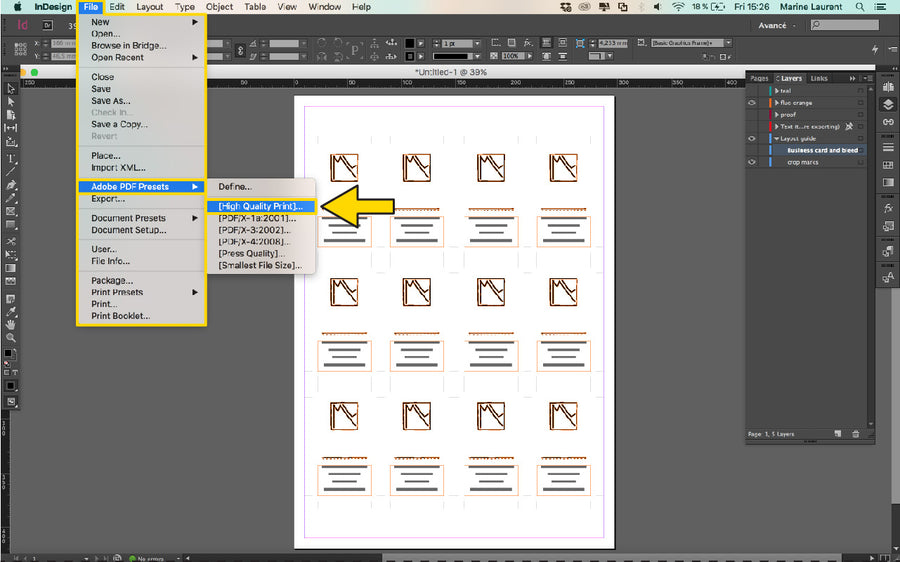
STEP 5: Before saving for print, you will need to turn off 'Business card and bleed' and 'Text' layers. But remember to keep on the 'Crop Marks' layer.

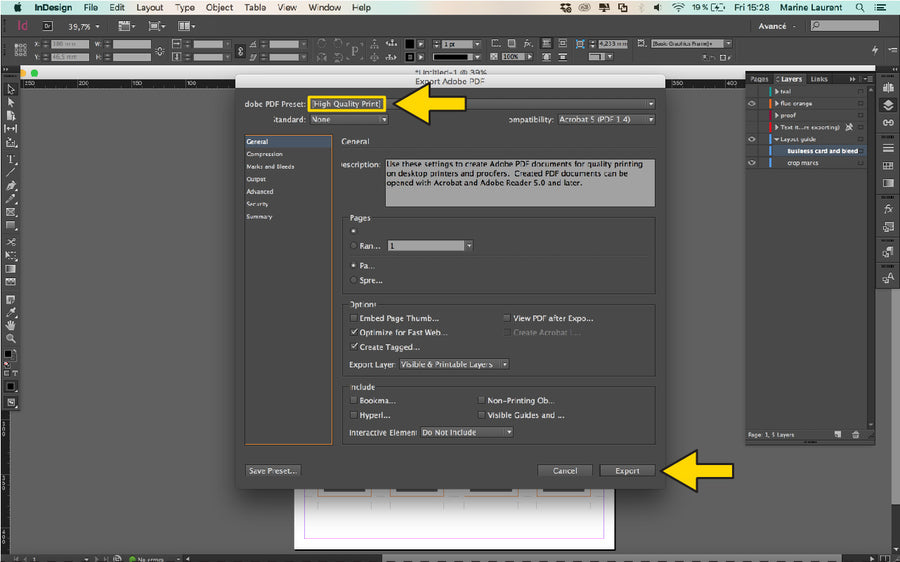
STEP 6: Remember - To save your file, go to 'Adobe PDF Presets' and select 'High Quality Print' to save your layers and proof files.
STEP 7: Name your file to include, your name/project name, and the colour of ink you’d like it printed in. If it’s double sided - let us know if it’s ‘Side A or B’.
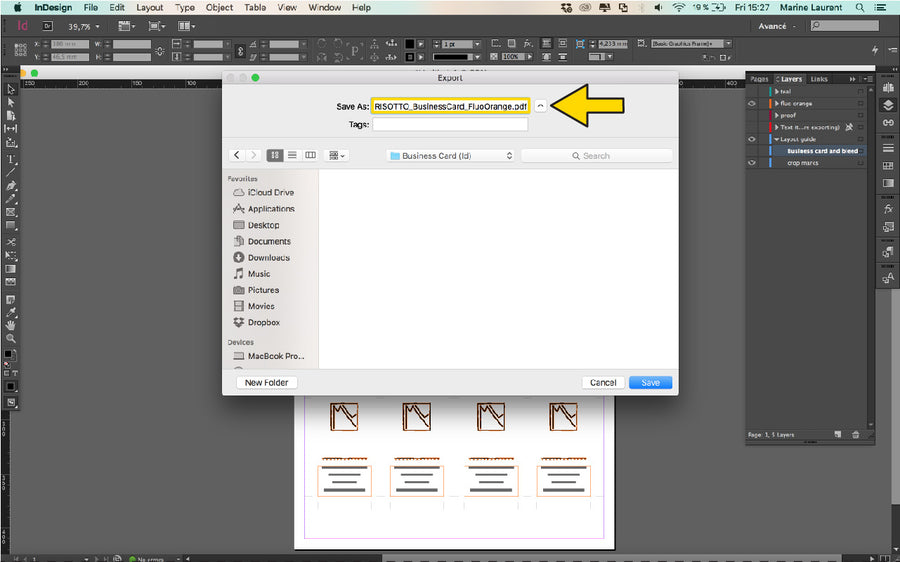
STEP 8: Select ‘High Quality Print’ from the 'PDF Preset' menu. Click ‘Export’. Do the same for the others colours.