Back to tutorials
SAVING PDFs IN INDESIGN
REGISTRATION BLACK AND SAVING ARTWORK FOR PRINT
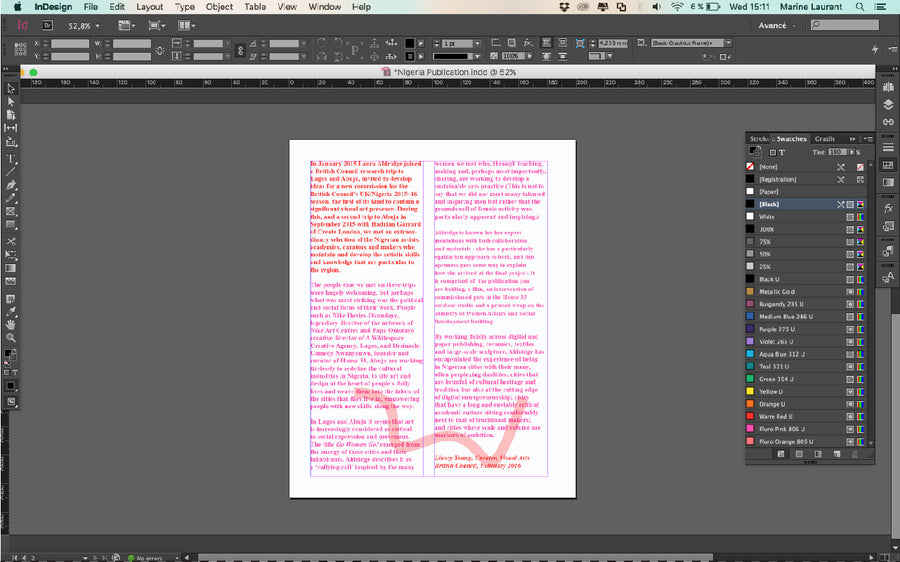
STEP 1: Once you've finished choosing the colours you want to print with, it's time to save your artwork!
STEP 2: We'll work with the RED layer first. Begin by hiding the other colour(s) by either turning the grouped layer off or making it transparent.
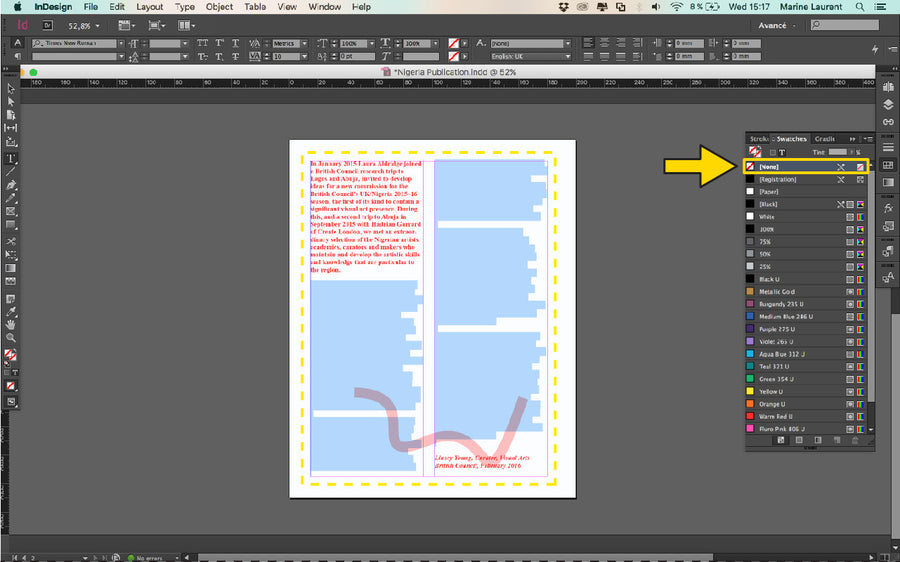
STEP 3: Select all the elements to be printed in RED, and set them to 'Registration Black' or greyscale to ensure a crisp quality print.

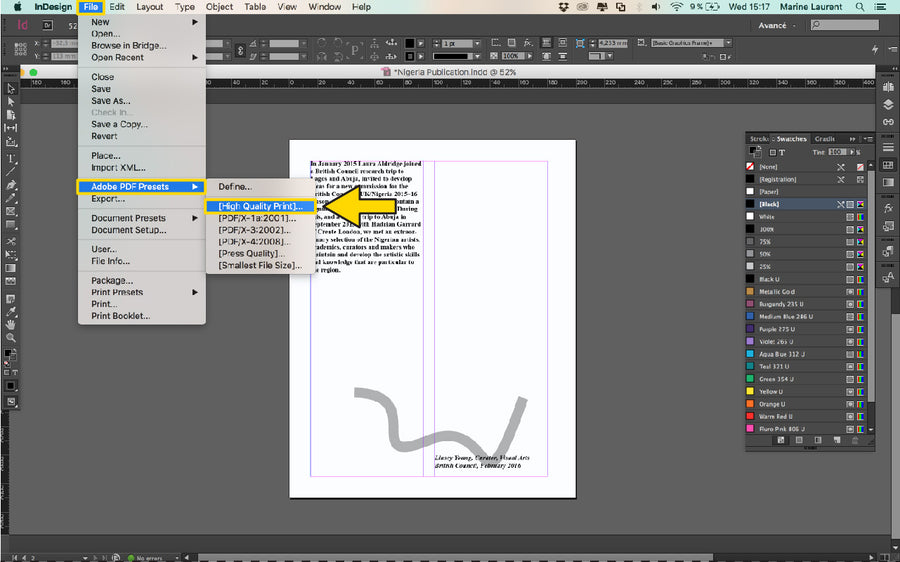
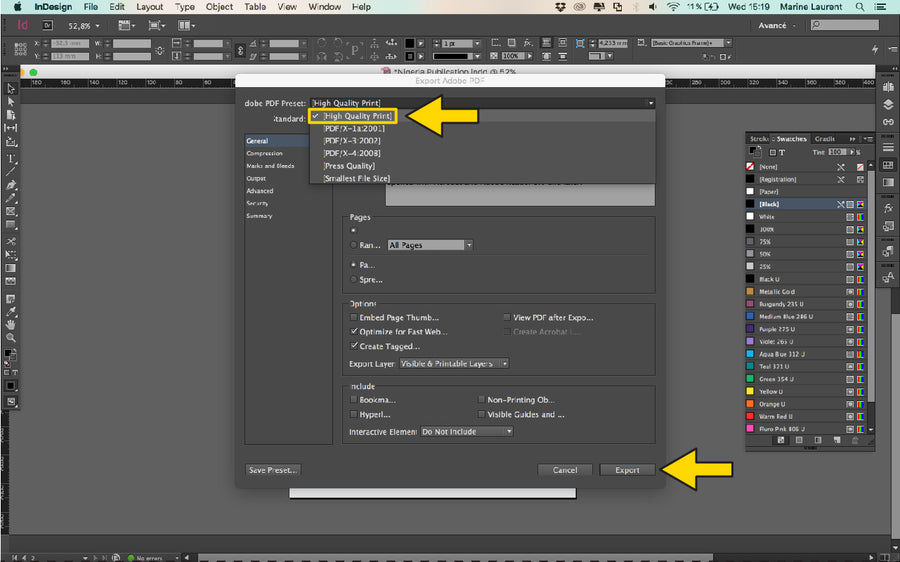
STEP 4: Go to 'File', then to 'Adobe PDF Presets' and select 'High Quality Print' to save the first layer as PDF.
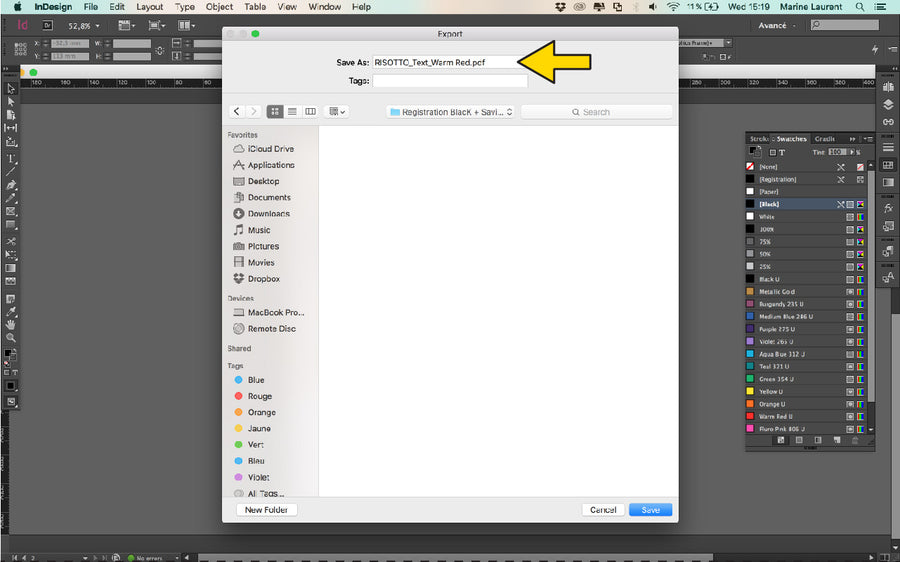
STEP 5: Name your file to include, your name/project name, and the colour of ink you’d like it printed in. If it’s double sided - let us know if it’s ‘Side A or B’.
STEP 6: Select ‘High Quality Print’ from the 'PDF Preset' menu. Click ‘Export’. Do the same for the others colours.
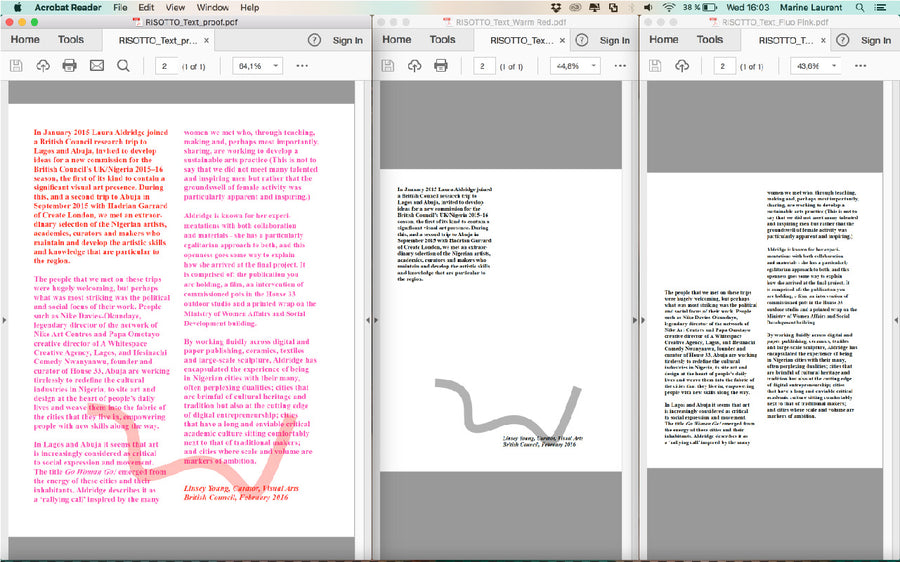
STEP 7: You should now have three PDFs:a proof and two black and white (or greyscale) stencils. You're now ready to print!