Back to tutorials
BLEED
ADDING BLEED TO ARTWORK IN ILLUSTRATOR
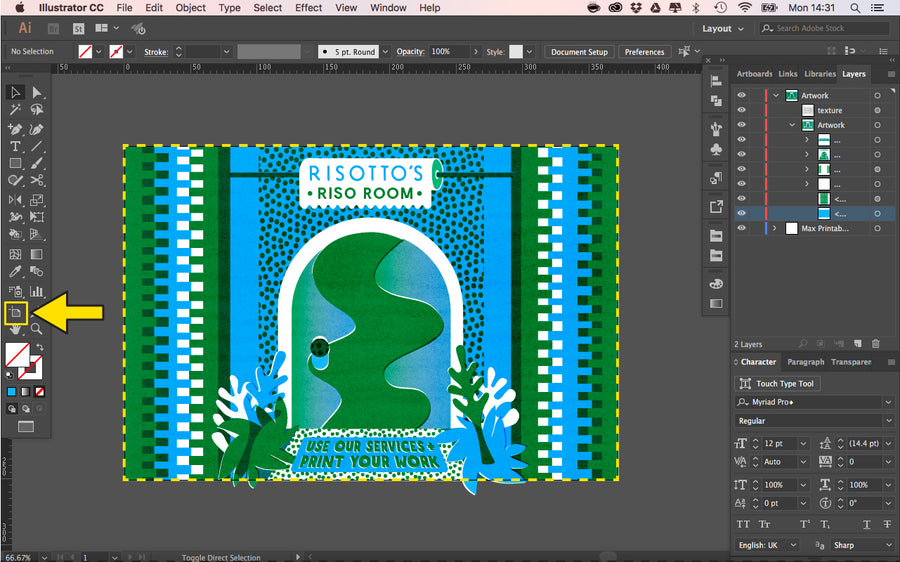
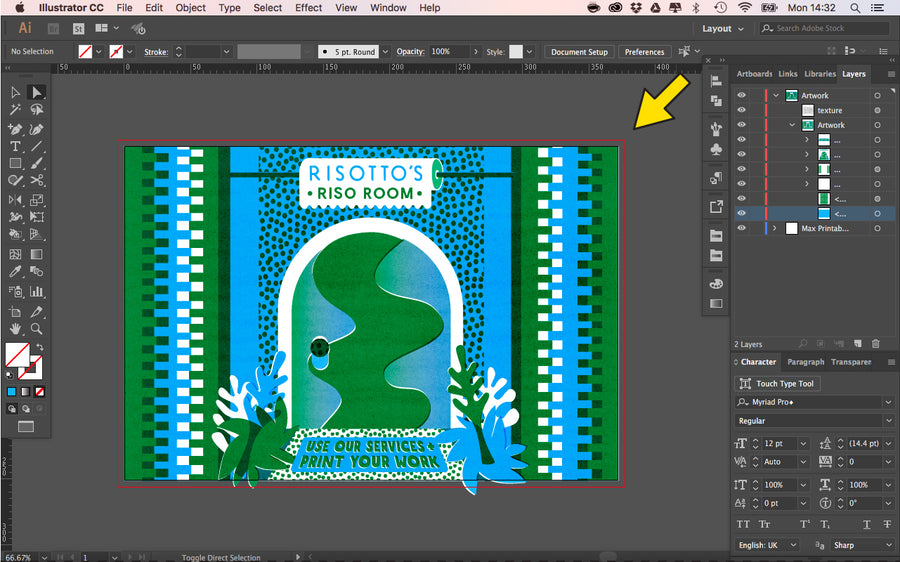
STEP 1: Open your file in Illustrator, with artboard sized to artwork dimentions. Click the Artboard tool (Shift-O) to enter artboard editing mode.
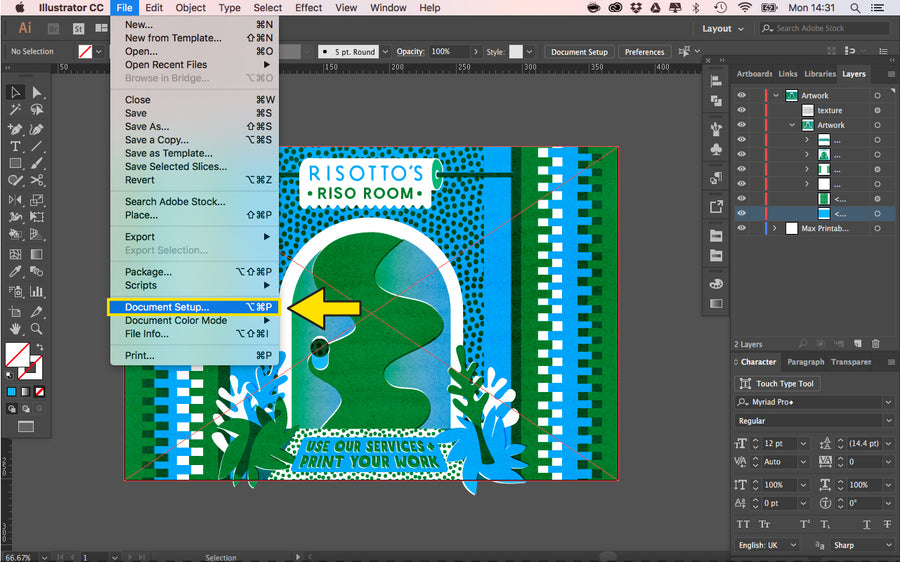
STEP 2: Go to the ‘File’ menu, and click on ‘Document Setup..’
STEP 3: Amend the ‘Bleed’ setting to read 5mm along all sides; Top, Bottom, Left, Right. Click ‘OK’.

STEP 4: A red outline/box should now be visible arounf your artwork. This is the bleed zone.
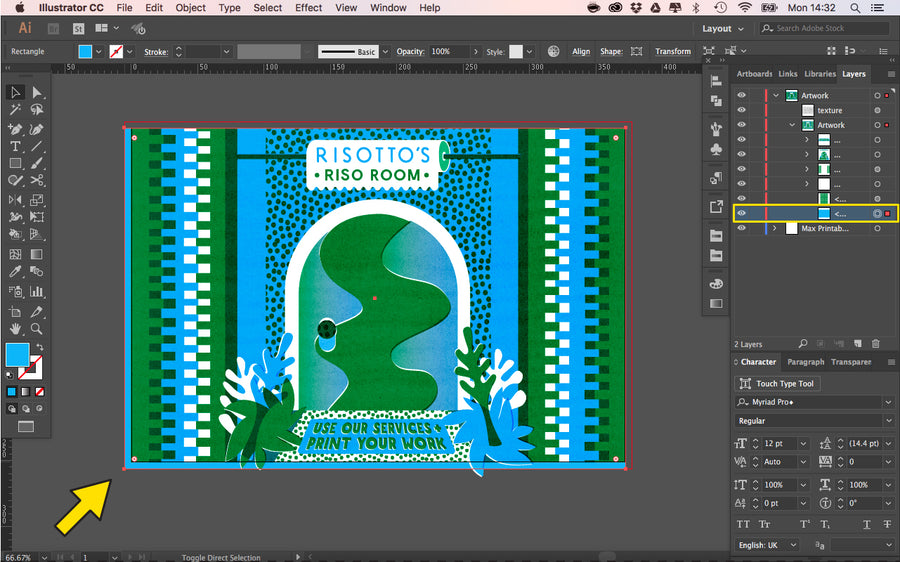
STEP 5: Start extending your artwork to fill the gap between your artwork and the bleed edge. Some layers will be easier to amend than others.
STEP 6: Open your file in Illustrator, with artboard sized to artwork dimentions. Click the Artboard tool (Shift-O) to enter artboard editing mode.
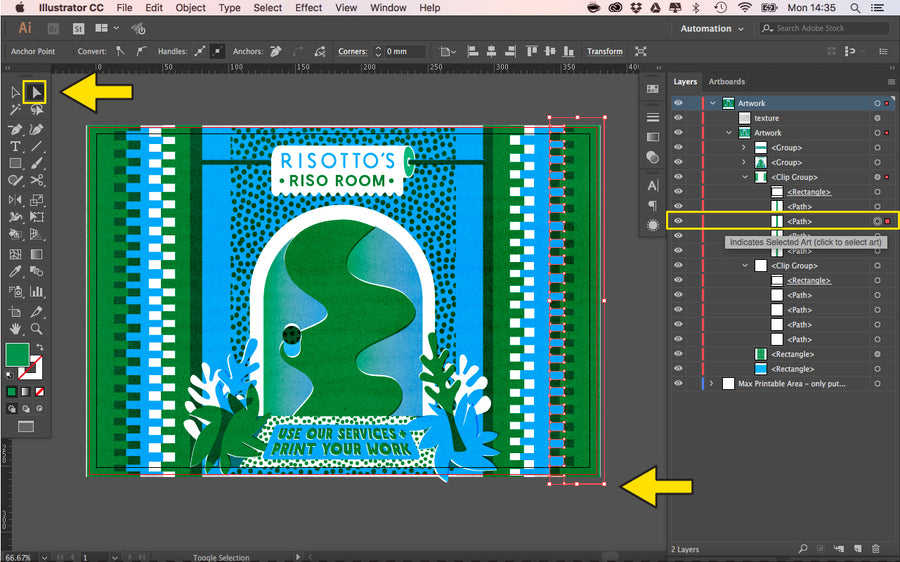
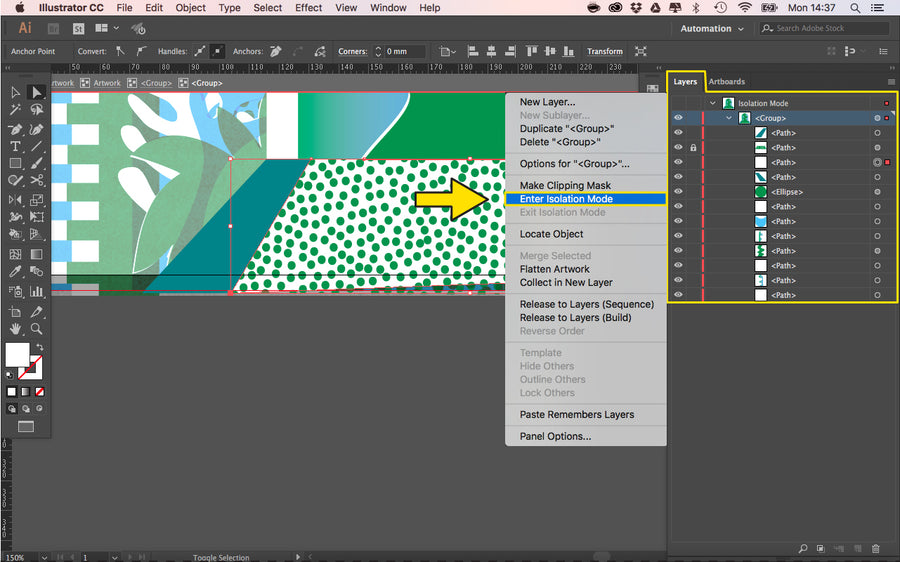
STEP 7: For more complex graphics, select a layer or sublayer in the ‘Layers’ panel, and choose ‘Enter Isolation Mode’ from the menu.
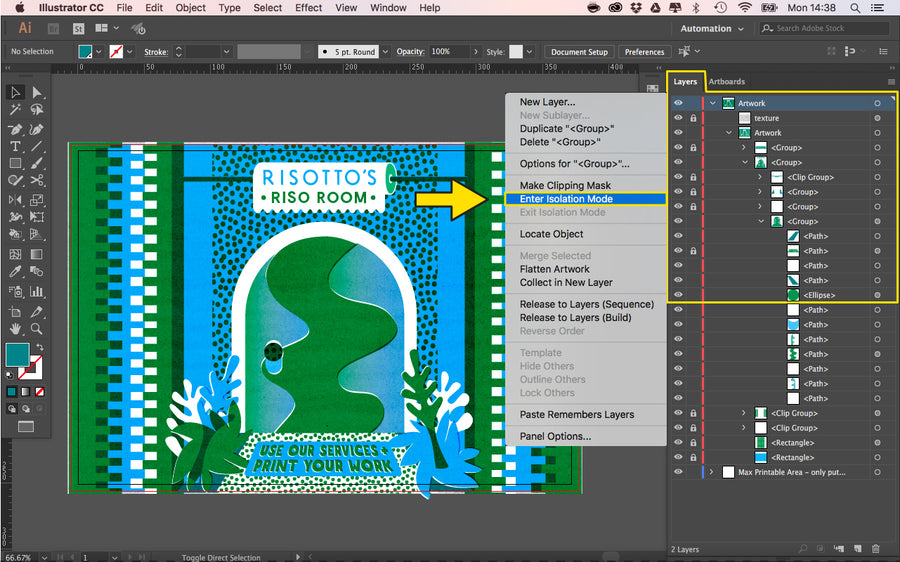
STEP 8: Once all artwork has been extended across all four edges, bleed has been successfully added.