Back to tutorials
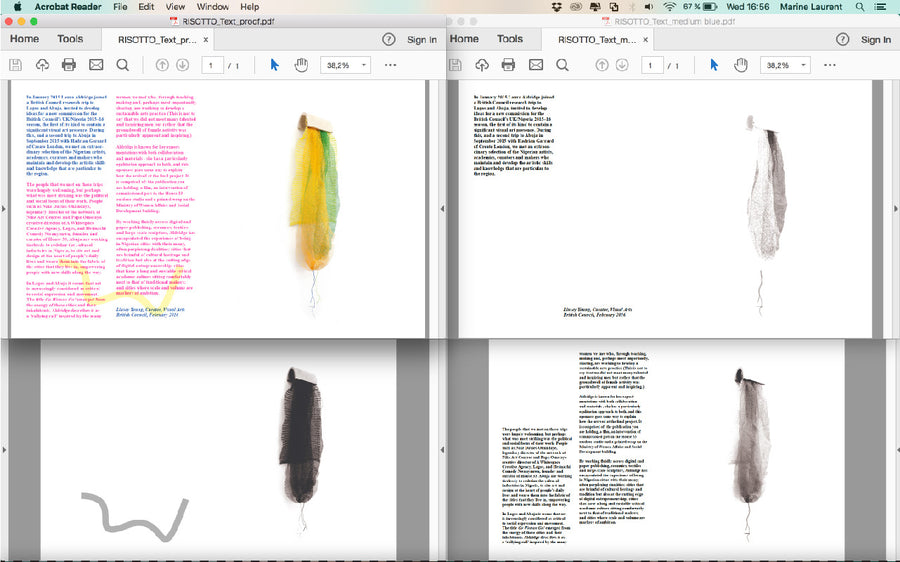
SAVING ARTWORK IN INDESIGN:
SEPARATING VECTOR AND RASTER ARTWORK FOR PRINT
STEP 1: Create Layer for each colour you want to print with and an additional one with all the colours as 'Proof'. Group your artwork into these layers.
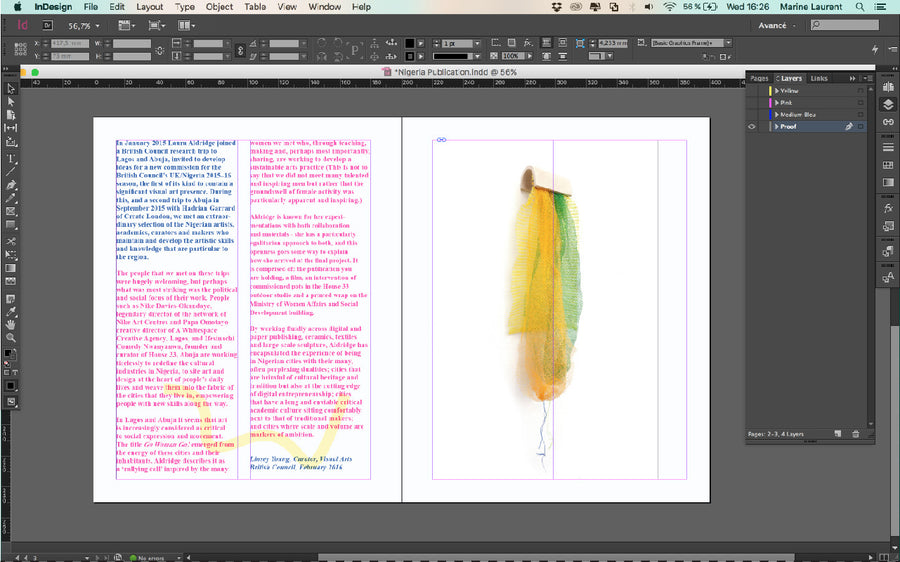
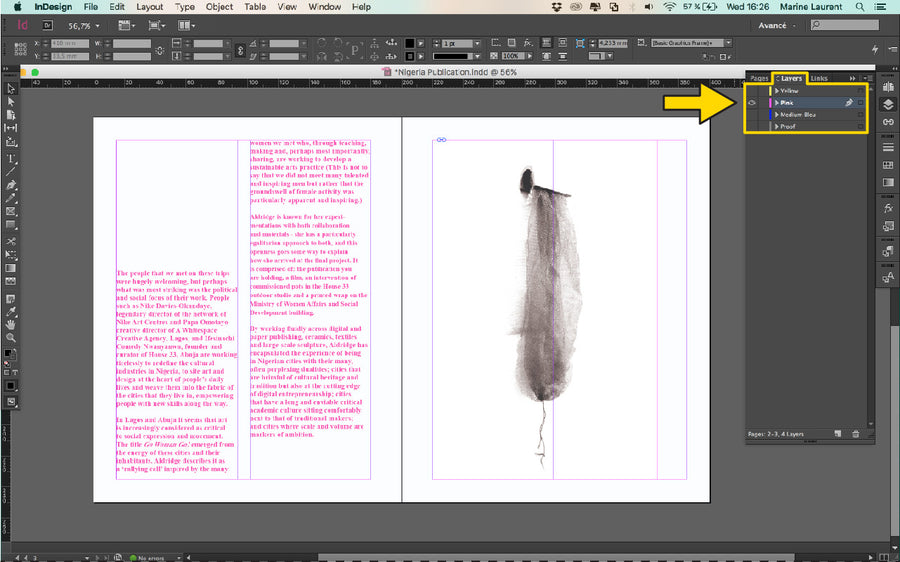
STEP 2: We have started with our pink layer, so turn all other layers off for the moment.
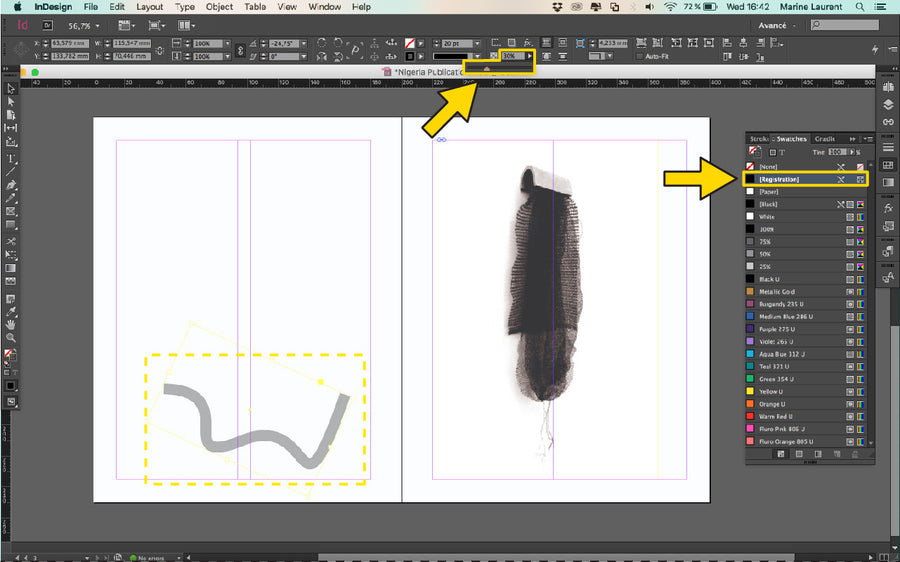
STEP 3: Begin by setting all small text to 'Registration Black'. Do the same for each colour layer.
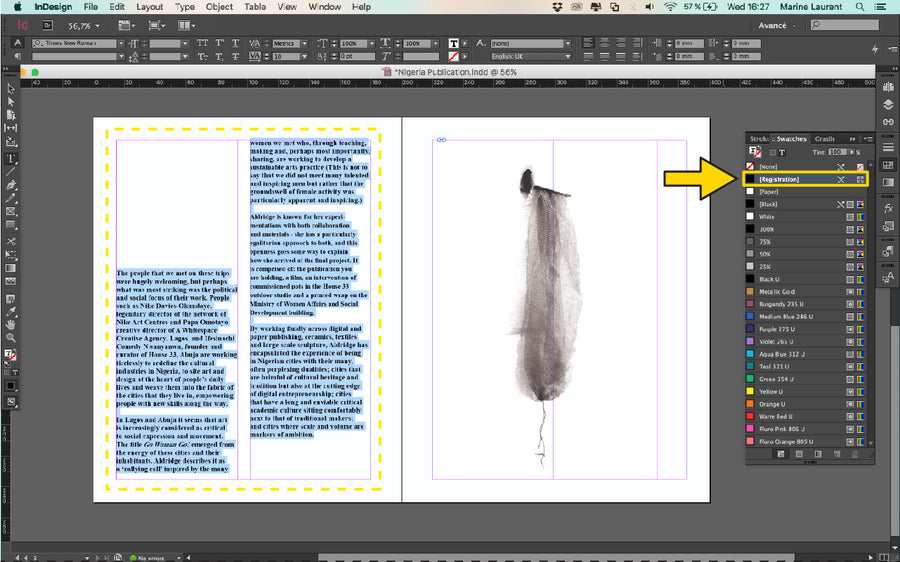
STEP 4: Our Yellow layer contains vector elements. We have set these to 'Registr- tion Black' but have set the opacity 30% as we want to print it lightly.
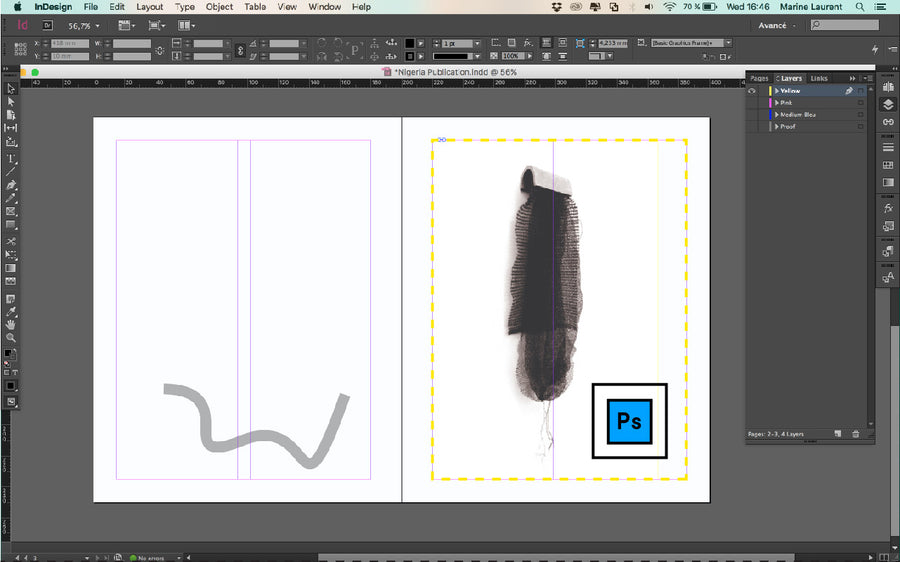
STEP 5: For our multi-layered photo, we separated this artwork in Photoshop first, then dropped the images into place, in their respective layers.
STEP 6: After you've saved your files as seperate greyscale PDFs, you should have set of files similar to this: 1 x 'Proof' and 3 x 'Greyscale 6 stencils'. Let's print!