BASIC SETUP:
A run down of key steps to help you get started with riso printing.
If it's your first time riso-printing, the imperfections and inks are something to consider most when starting out, as these aspects are what make it unique, and though never perfect - you will get a tactility and vibrancy that you don't get with digital processes.
You can create a one colour, or four colour print - but the more colours, the more cost, as we need to make a new stencil for each colour layer you want to print.

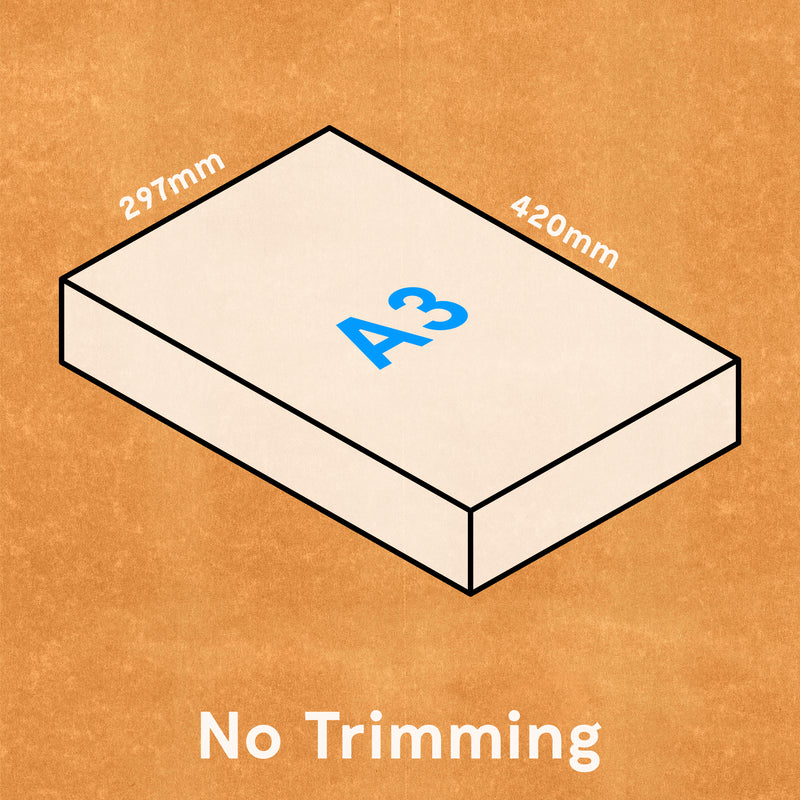
THINK A3!
The riso is an A3 printer, and We print from Black and White PDFs. All images and content within files must be set at the size intended for printing, and 300dpi.
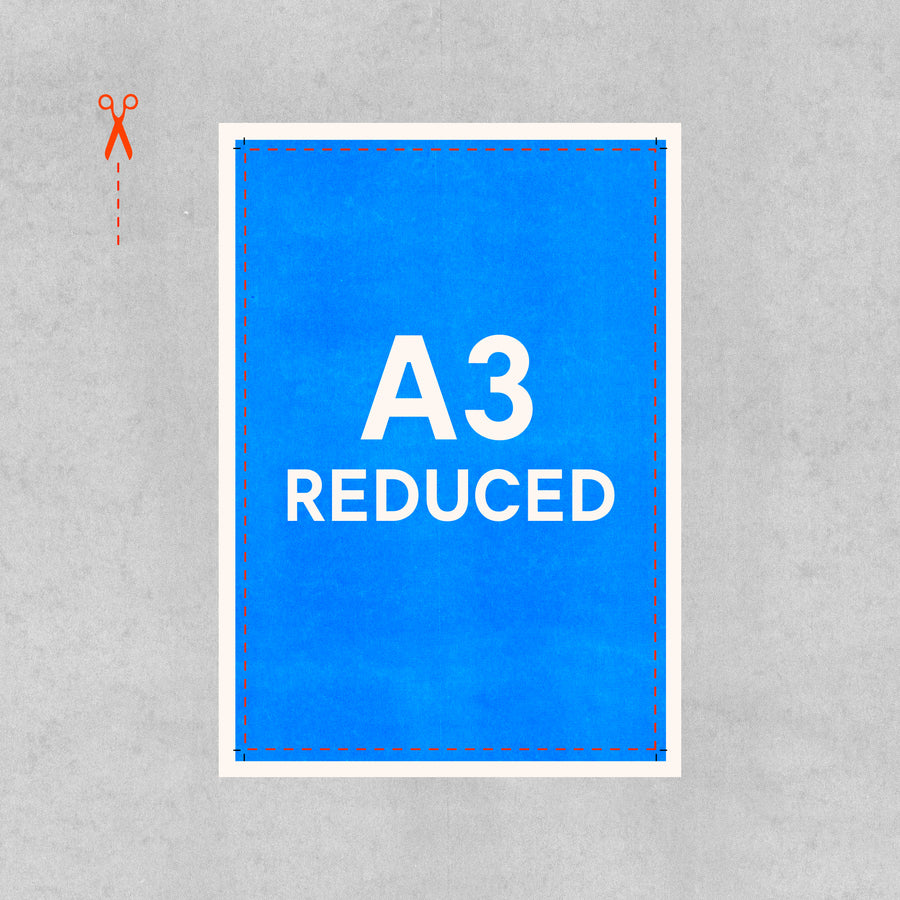
The RISO cannot print full-bleed A3 artwork. Please ensure you have a 10mm clear border around the edge of your A3 artwork.
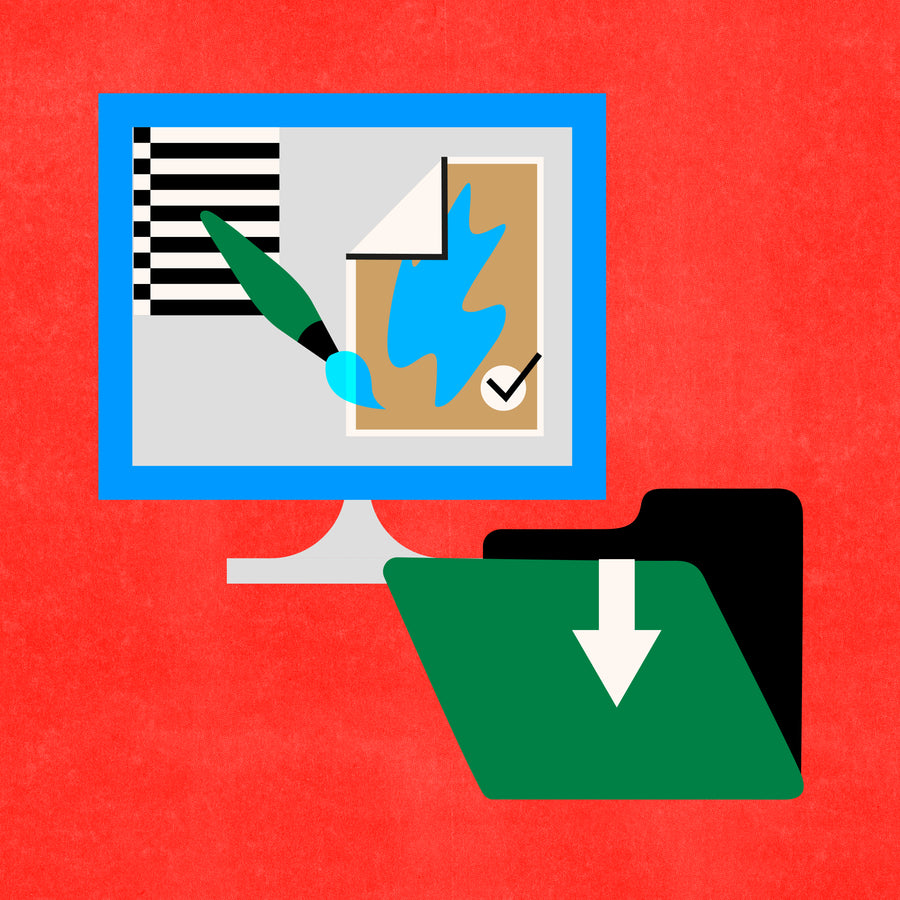
For print, artwork files should be:
1. Flattened PDF (no layers or transparencies)
2. Set to Greyscale / B&W
3. Resolution = 300dpi + Size = A3
4. Each colour layer saved as a separate file
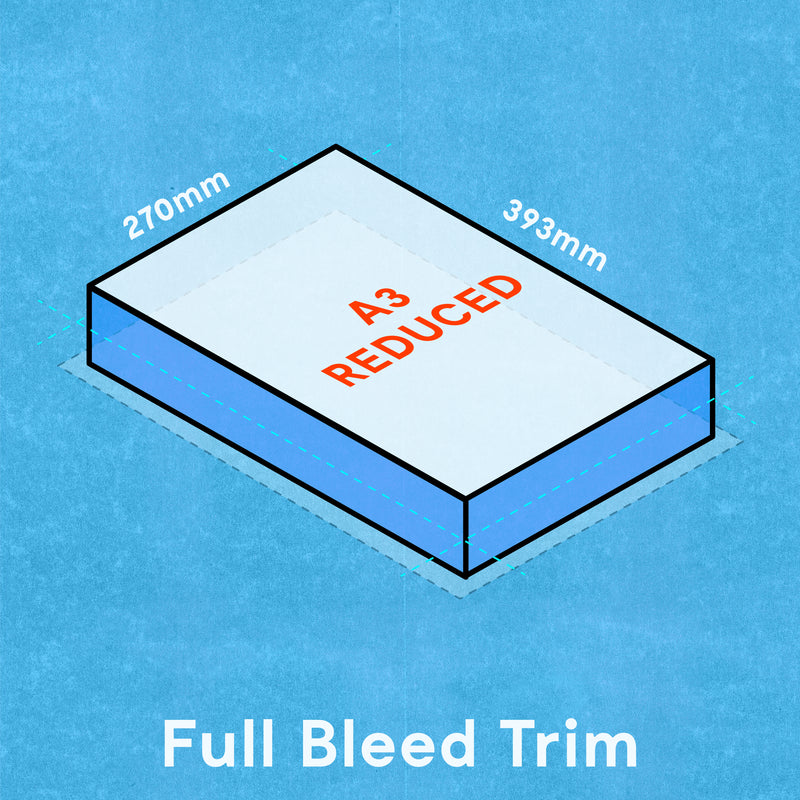
Full Bleed Posters
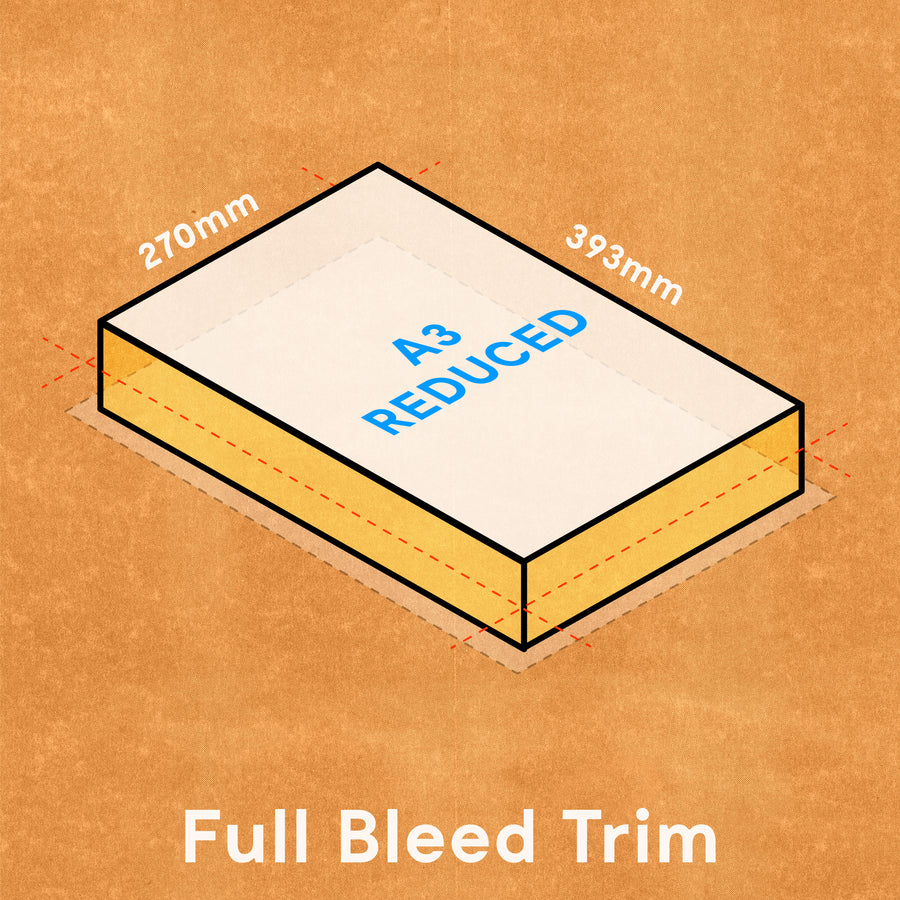
For a full bleed finish, we can crop your posters once they’re done printing.
If you’d like to make your poster full-bleed, we’ll need you to add 4mm bleed to all sides of the artwork, whilst retaining it within the printable area, so no important artwork is lost.
The cropped poster will be approx. 270 x 393mm in size.
There is no need to add crop marks or registration marks as this will only reduce the finished size of your file, by making room for them within the printable area).
REMEMBER:
The RISO cannot print to the edge of the A3 page. So when you select this option, we will trim your artwork down, and remove the blank edge around your prints.
CROP MARKS & BLEED
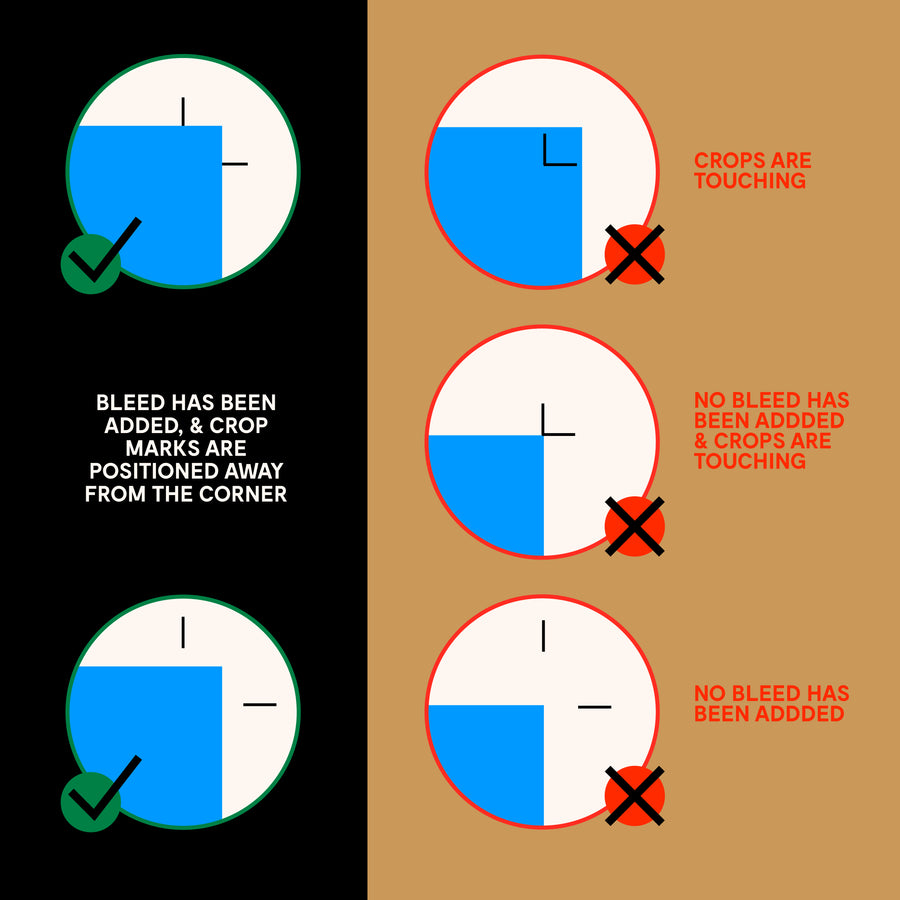
4mm bleed is required on any print that will be trimmed to size.
Crop marks should be added too. Take care in how you position these, and ensure the 'Bleed' is extending past these marks too.
Flattening files in Adobe
If your artwork has no 'Effects' and is all Vector based - there is no need to 'Flatten' or ‘Rasterise’ your art. But, when artwork contains layered content + transparencies, the riso can interpret these 'effects' awkwardly, resulting in visible corruption.
This is why it’s important to Merge, Flatten and/or Rasterise layers before saving them as stencils, so that all transparencies or effects become embedded as part of the artwork.
Flattening files in Illustrator
This tutorial explains how to remove effects that can cause unexpected 'Glitches' in print. These aren't visible on screen, but our printer will read them unless they are flattened.
Flattening files in Photoshop
How To Flatten & Save Files In Photoshop. You can easily reduce the File Size while you're at it.
Flattening files in Acrobat
A quick way to flatten artwork in Adobe Acrobat. This is handy if you don't have the Adobe suit like Photoshop or Illustrator.
Common glitches caused by 'effects'
If your artwork contains effects such as drop shadows, the riso will pick this up and print visible boxes across your artwork. These elements need to be flattened and rasterised before print.
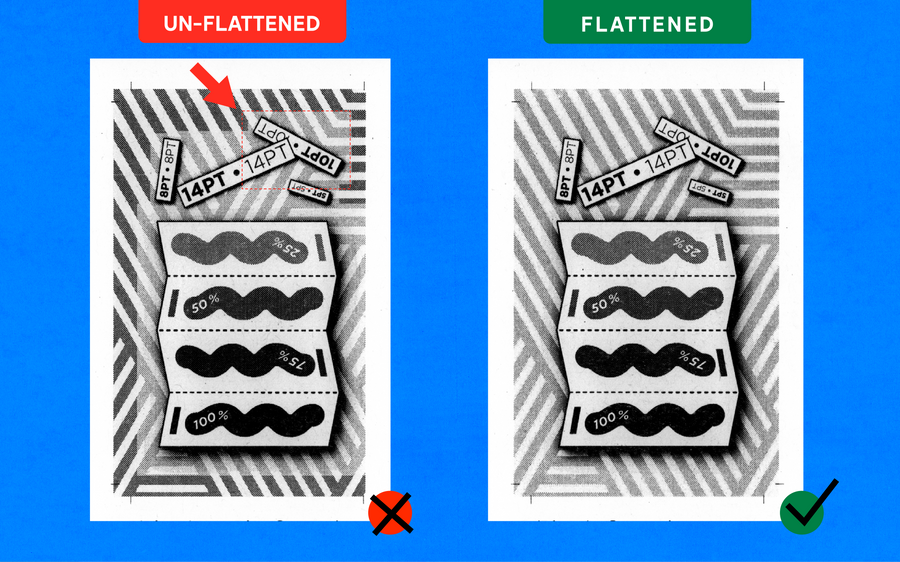
A common problem: Files need to be 'cleaned'
If artwork has been previously scanned in, or has textures applied, the riso may pick these up and print these more visibly than it appears on screen. Zooming in on Photoshop for example, might help you spot any problem areas before you send the final files. You should tidy these up unless you’d like them to print visibly as pictured on the right. Amending the contrast or using the eraser tool can ‘clean’ these issues up. Spotting these issues in advance and correcting any problem areas (removing any ‘dirt’) is your responsibility.
Obviously, if we see anything on our end while processing your files, we’ll flag this up to you, as we want you to have the best possible print. As we’ve not been involved in the artwork generation, or know your preference/opinion of how the outcome should appear, it’s hard for us to gauge what is sometimes deliberate or sometimes an oversight.
We are not responsible for the artwork you send, and we process print your files to the best of our ability.
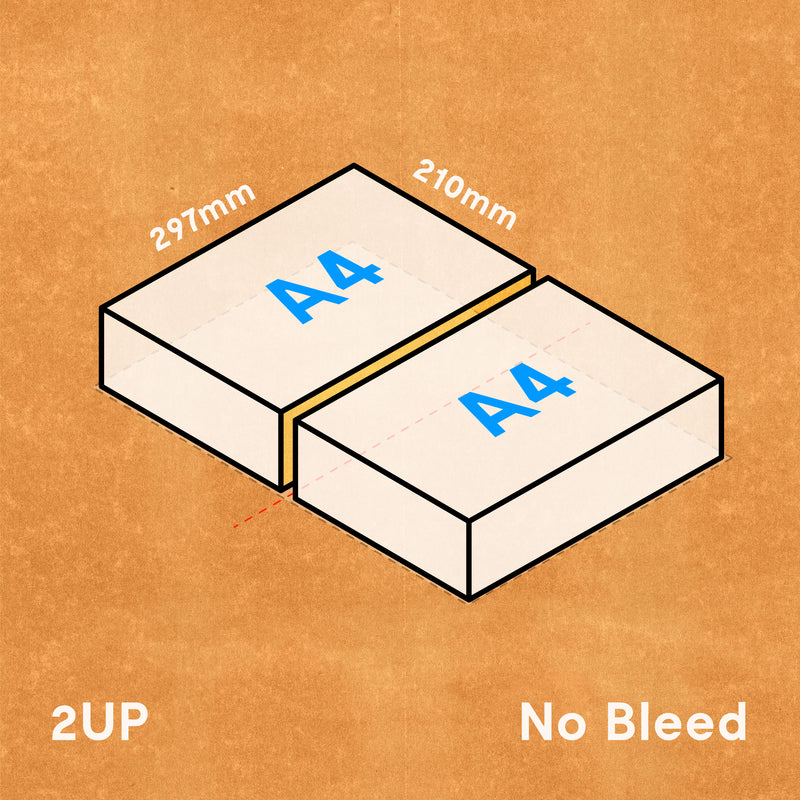
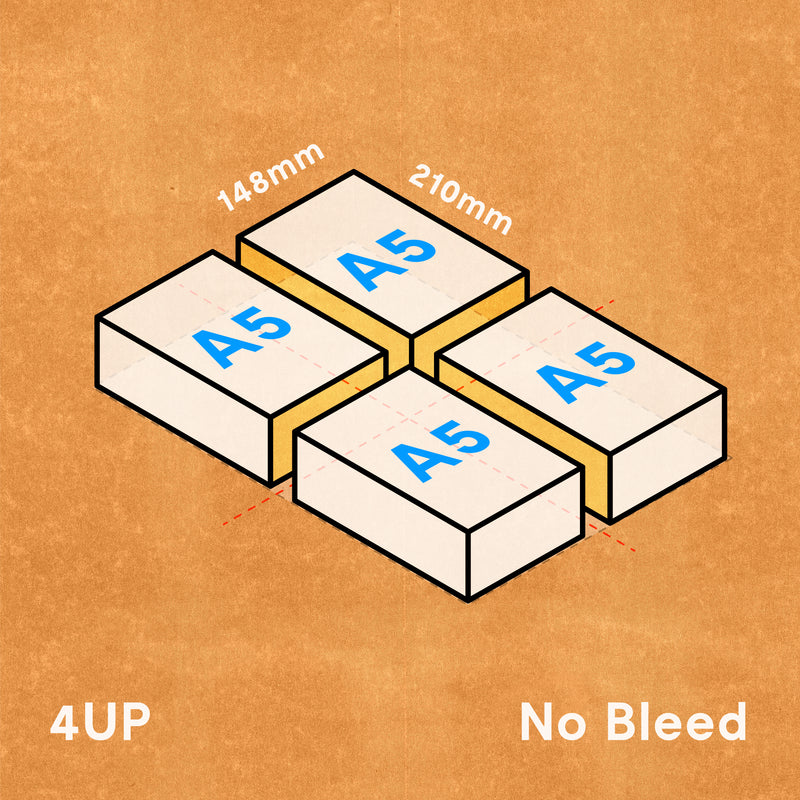
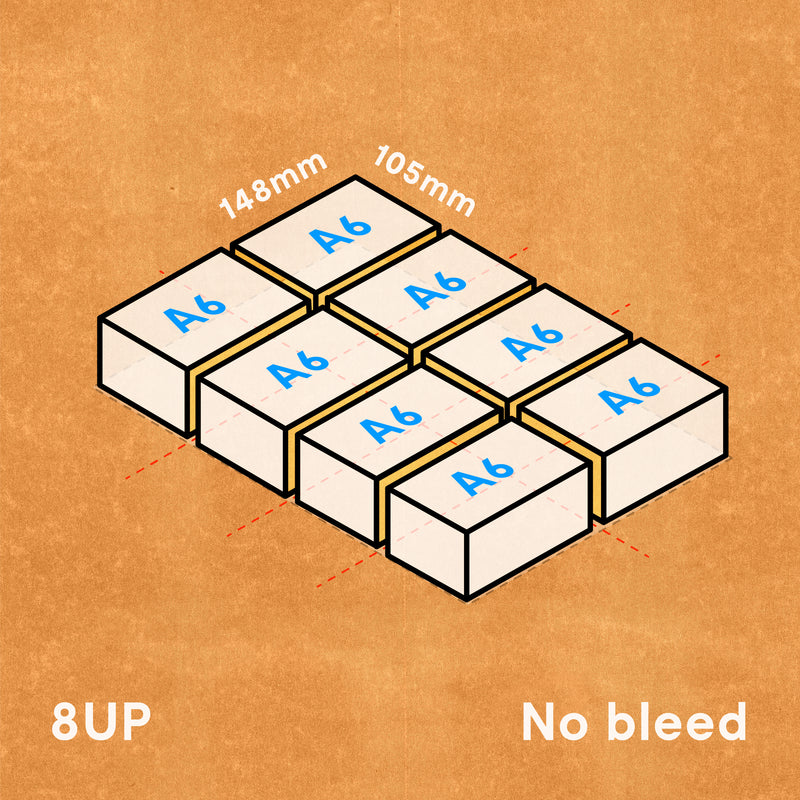
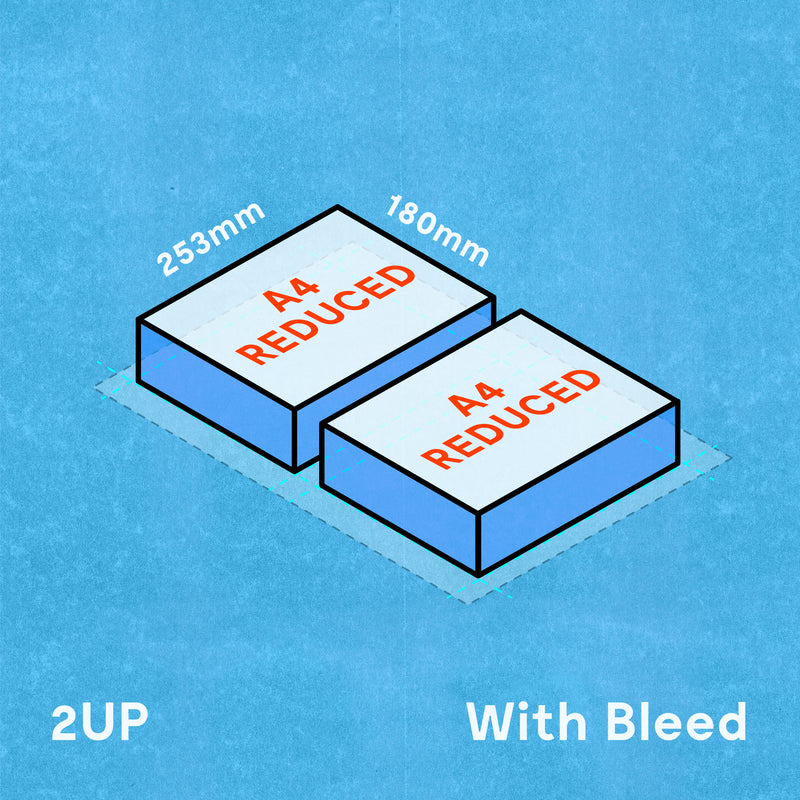
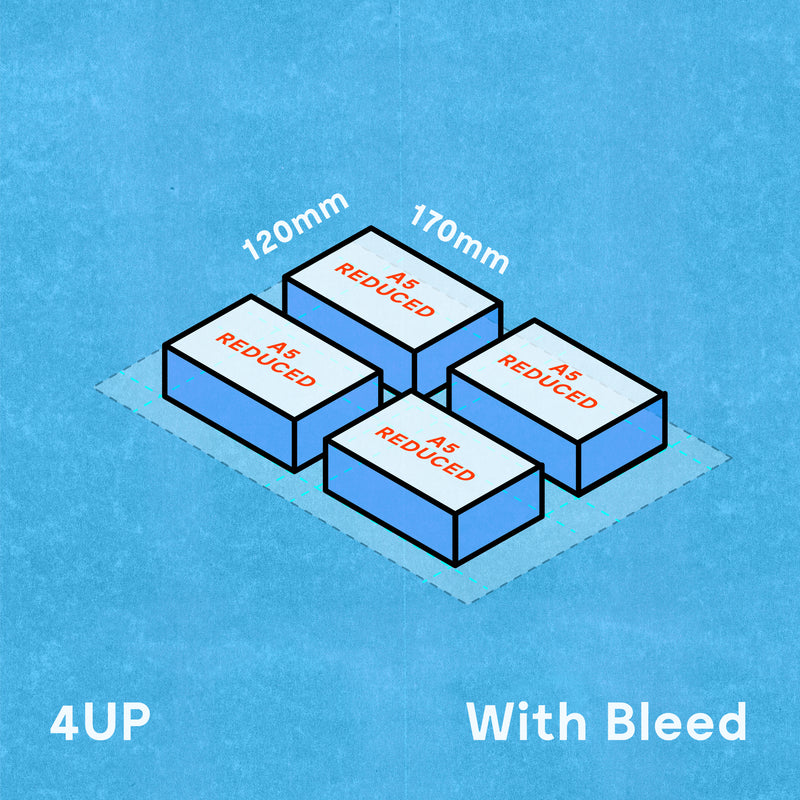
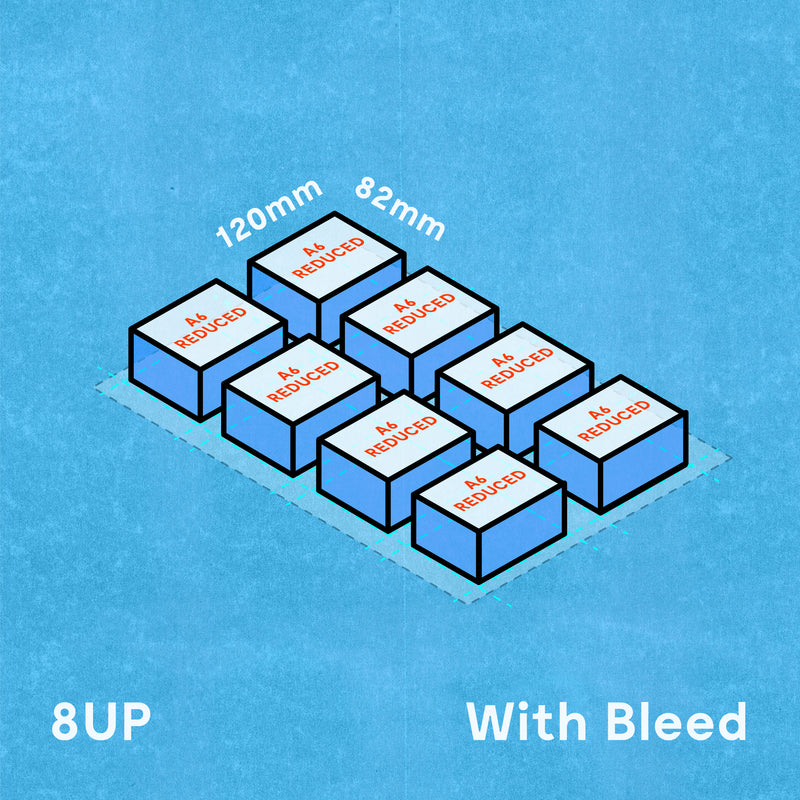
Trimming Options:
Our guillotine can trim all of the following formats, as well as custom dimensions. Just set your crop marks accordingly and we’ll trim to match. Measurements may be a few mm out due to the nature of the machine, and movements in the riso’s registration.
Only the diagrams in blue require crop marks and bleed (to be included in your artwork). Download our adobe templates for layout guides for all the following formats.
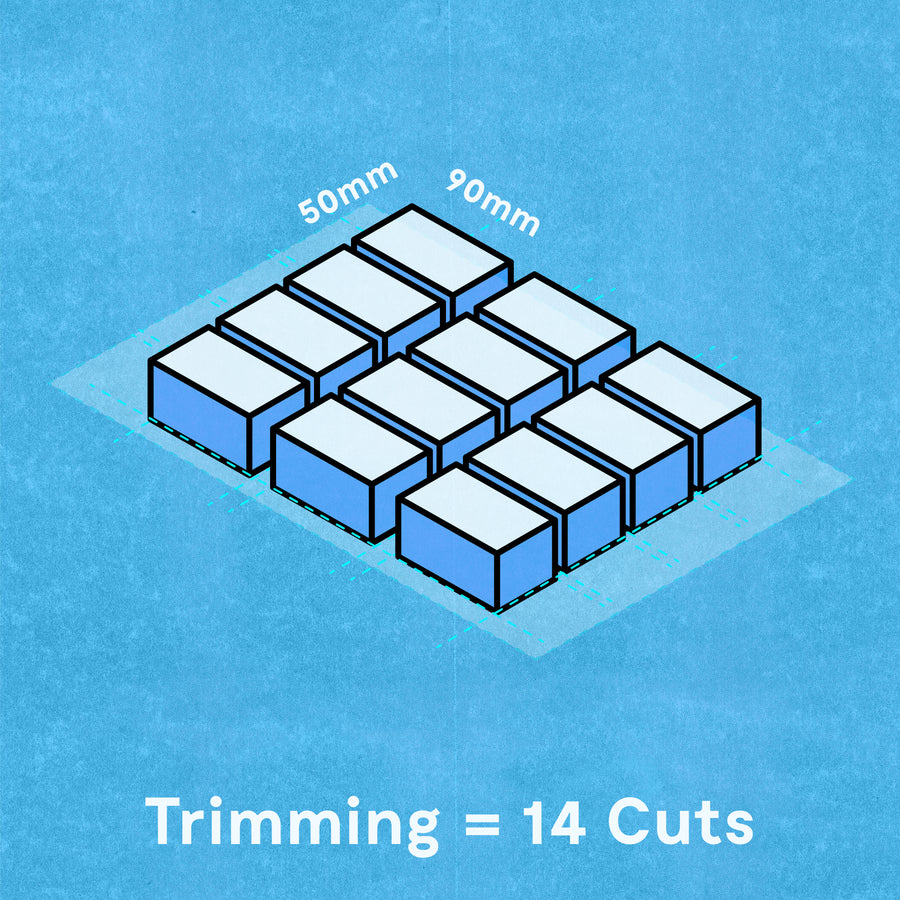
Business Cards:
We can fit twelve Business Cards onto an A3 (aka 12UP).
These can be landscape or Portrait.
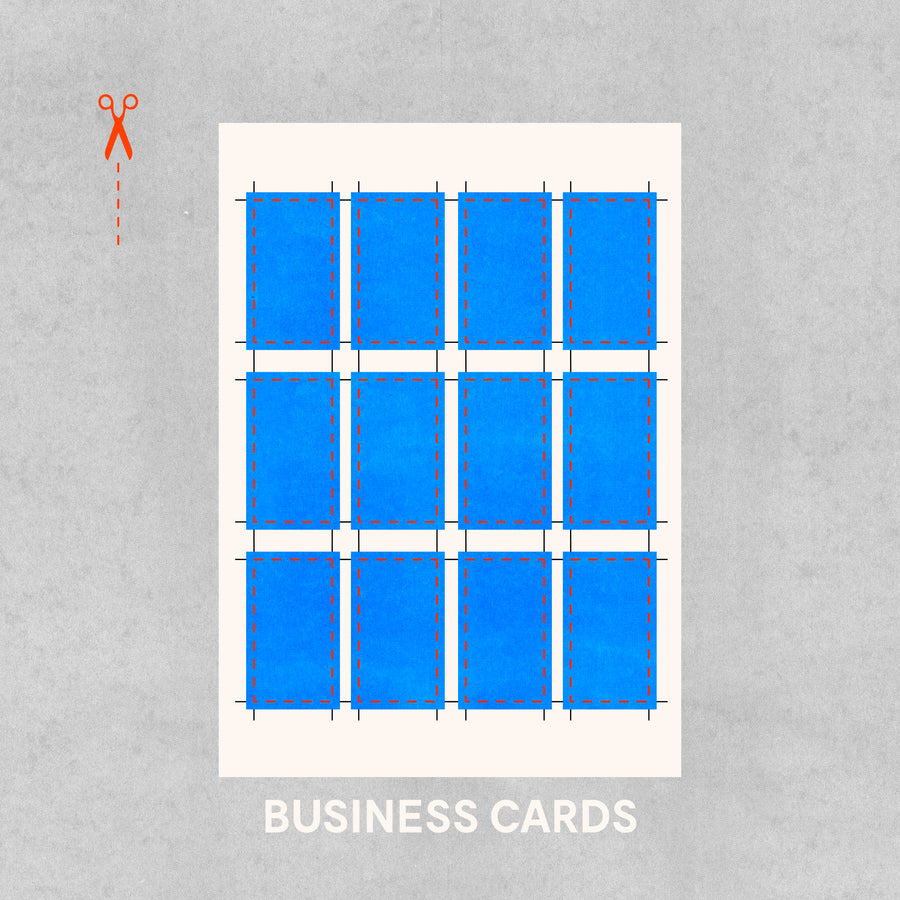
Everything is sent on A3 sized stencils, and printed on A3 paper.
If you'd like to have artwork printed edge to edge, please ensure you've added bleed to your artwork. When we come to trim them, there won't be a visible edge.
Please also avoid putting any detail too close to the edge. Due to the riso's mis-registration, artwork can shift 2-3mm and therefore, more generous margins are recommended.
Download our Adobe templates to drop your artwork into place.
If you are printing double-sided, you will need to create two sets of PDFs from the same template. Either duplicate the document, and export each side independently, Or turn off the visibility of one, then the other and save them as unique files (naming them 'FRONT' and 'BACK' accordingly).
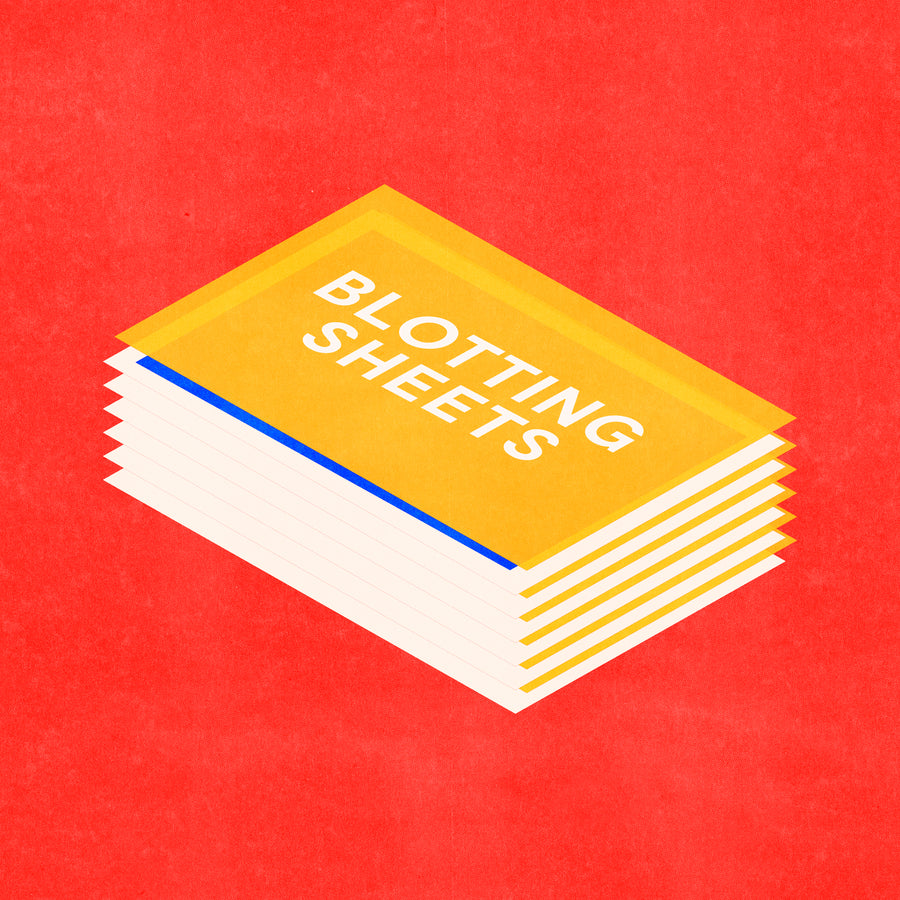
ADD 'BLOTTING':
If you require a cleaner finish, opt for our blotting service when submitting your print order.
Each print is interspersed with blotting paper, separating wet prints from one another, on their final pass through the machine. This process helps to soak up extra ink, protects the back sides from additional ink transfer, and speeds up drying time. It is recommended for prints with heavy ink coverage, or trimmed products like Cards.