Back to tutorials
A5 ZINE IN INDESIGN
LAYOUT AND IMPOSITION FOR AN A5 ZINE
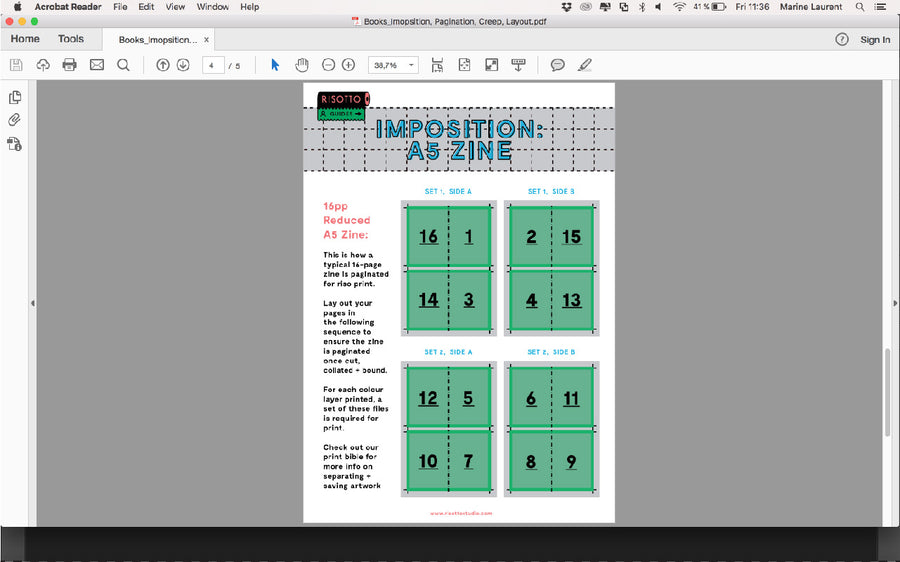
STEP 1: First, read our book guide to understand how to make imposition according to your number of pages.
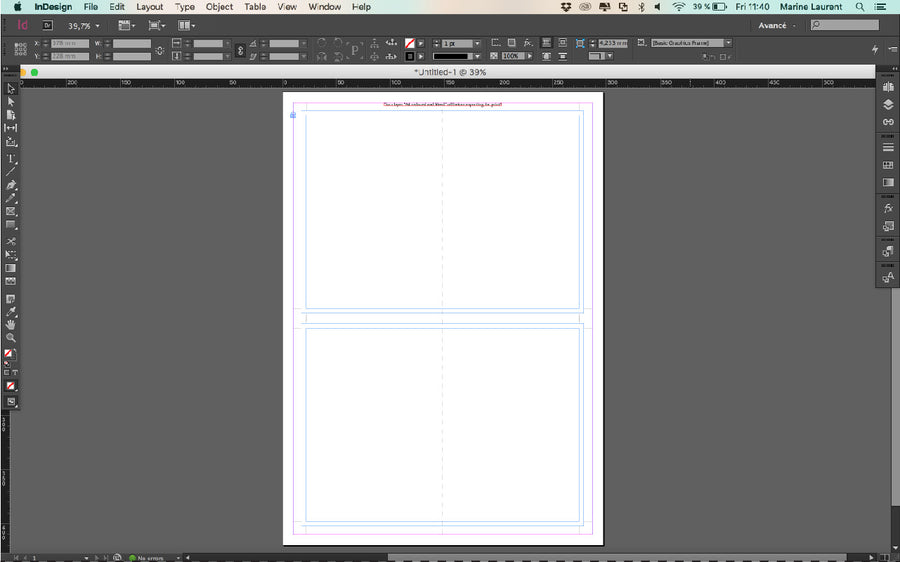
STEP 2: Then, dowload our 'A5 Zine' Template to position artwork correctly within the guides.
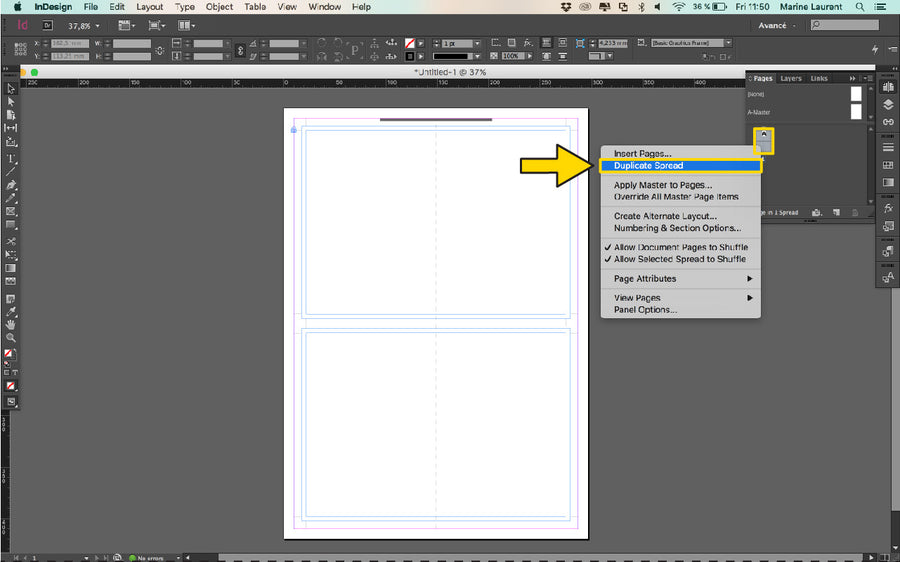
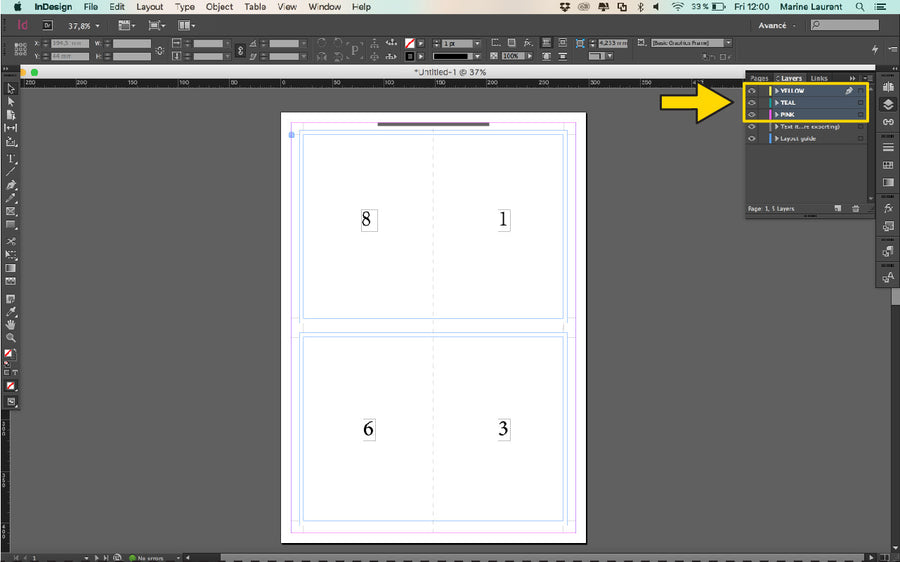
STEP 3: Because we'll print on the two sides of the paper, you need to duplicate the pages according to how many pages you want.
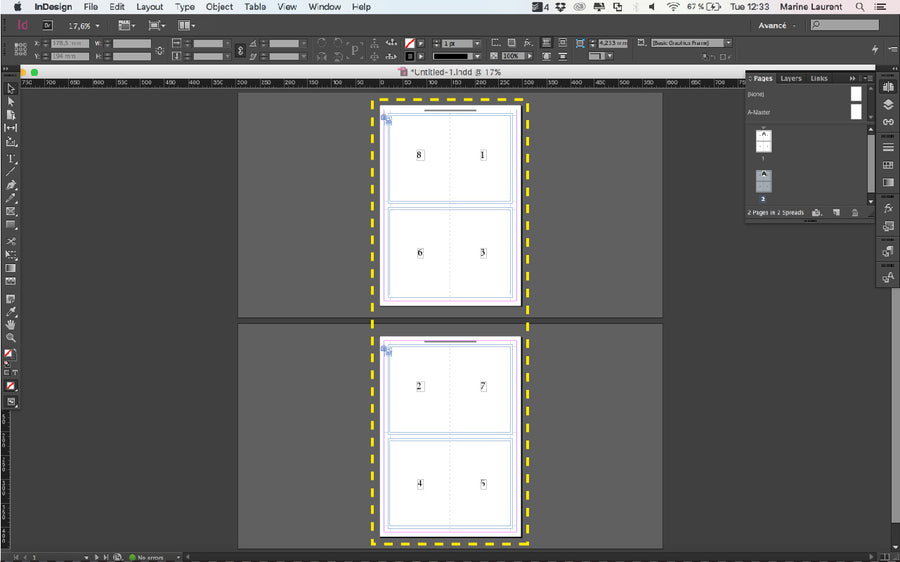
STEP 4: We want to create Zine with eight pages. To help work out the imposition, write the number of each page as an initial guide.
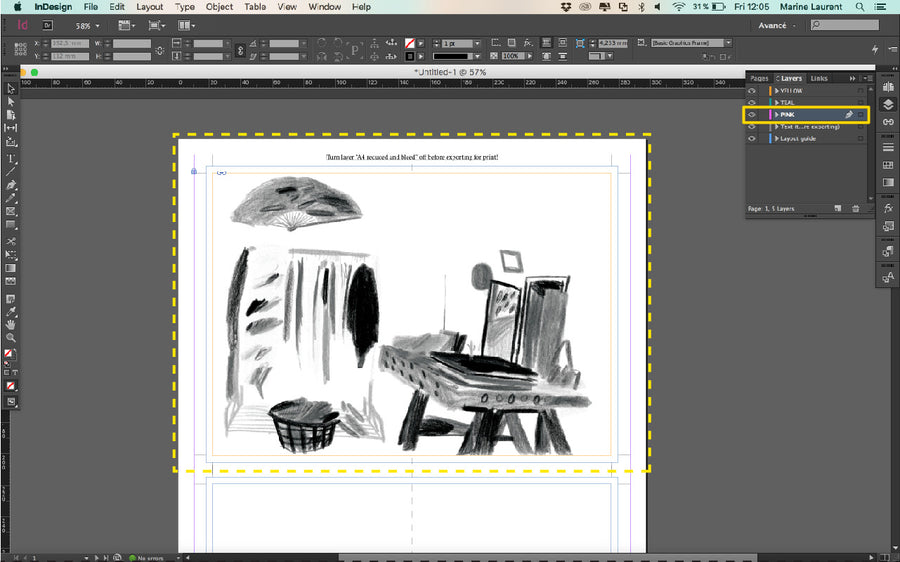
STEP 5: Next, create layer for each colour you want to print with.
STEP 6: On each colour layer, place your separate stencils you made in Photoshop. It can also be texts or vectorise elements.
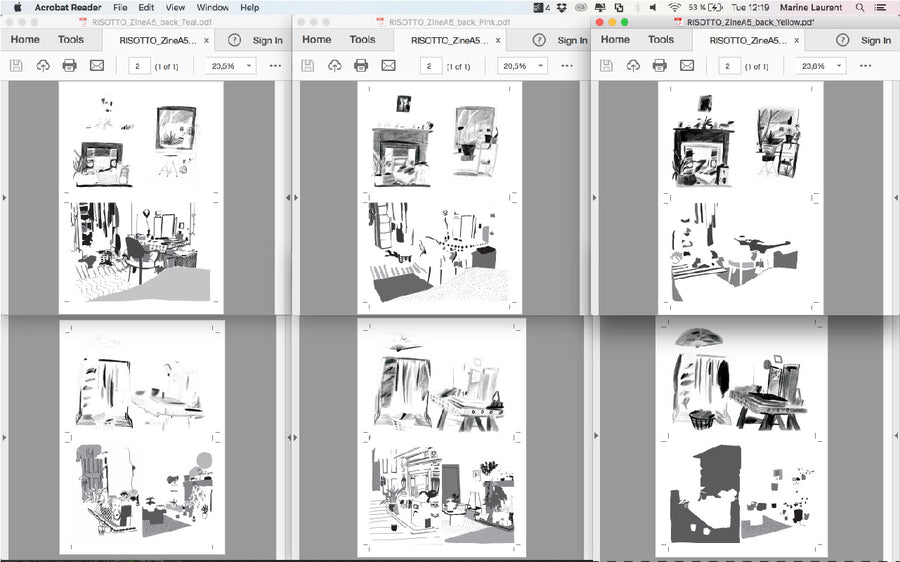
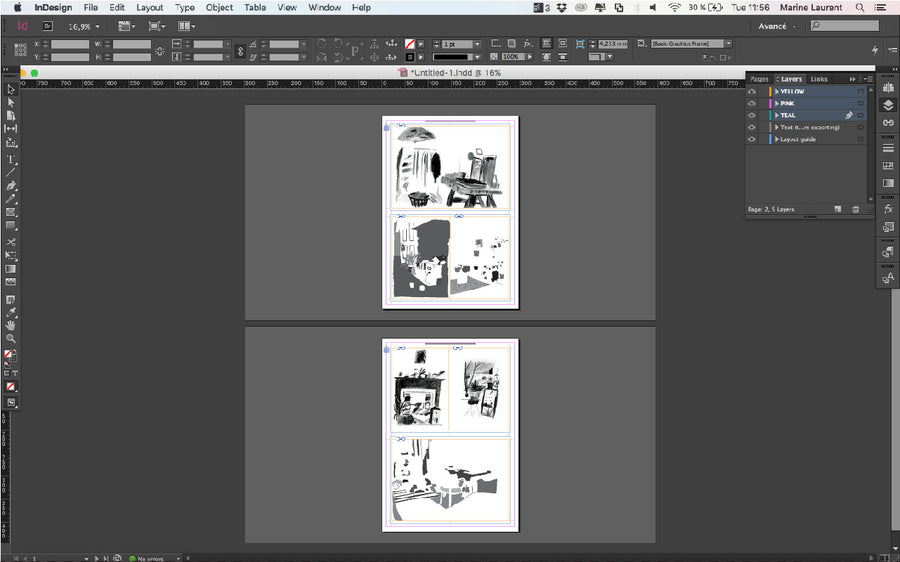
STEP 7: You should now have your two pages with your artwork. Be sure all your layers are well overlaid.
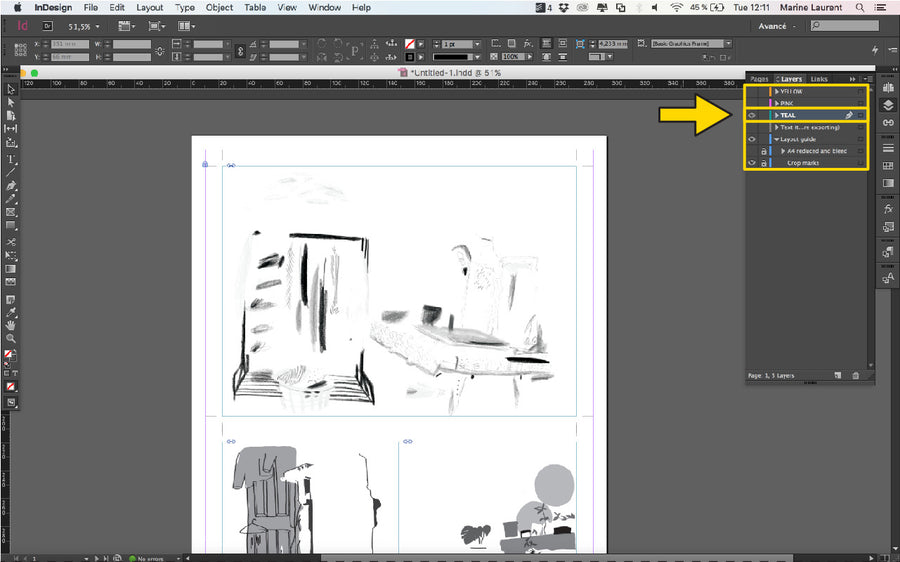
STEP 8: We'll stat to save the Teal layer. Turn of all the others layers. Lock 'A4 reduced and bleed' layer to be sure it'll not appear on your PDF.
STEP 9: Go to 'File', then to 'Adobe PDF Presets' and select 'High Quality Print' to save the first layer as PDF.
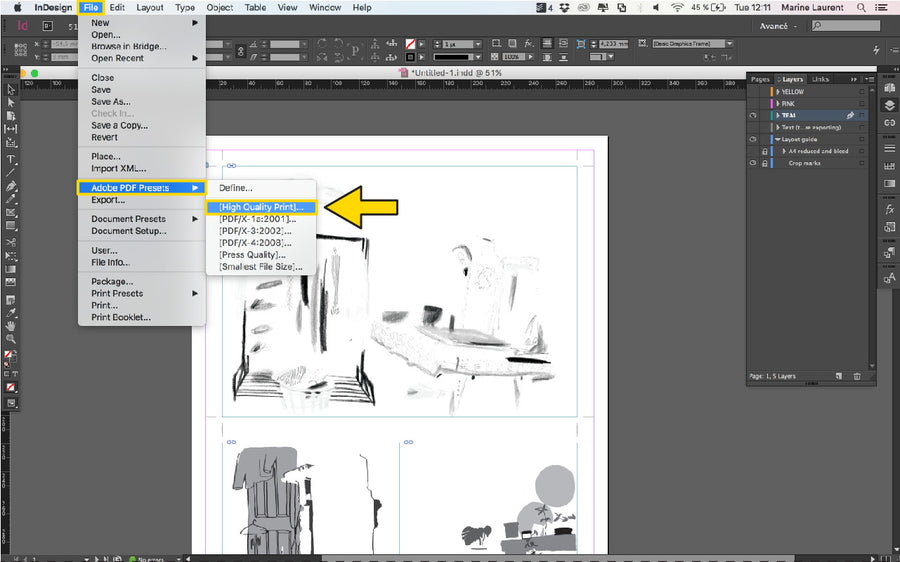
STEP 10: Name your file to include, your name/project name, and the colour of ink you’d like it printed in. Let us know which side is it.

STEP 11: Select ‘High Quality Print’ from the 'PDF Preset' menu. Write which page is it. Click ‘Export’. Do the same for the others colours.

STEP 12: You should now have six PDFs - three greyscales stencils for the Side A and three others for the side B. You're now ready to print!