BACK TO TUTORIALS
SWATCHES
INSTALLING AND USING OUR RISOTTO SWATCHES
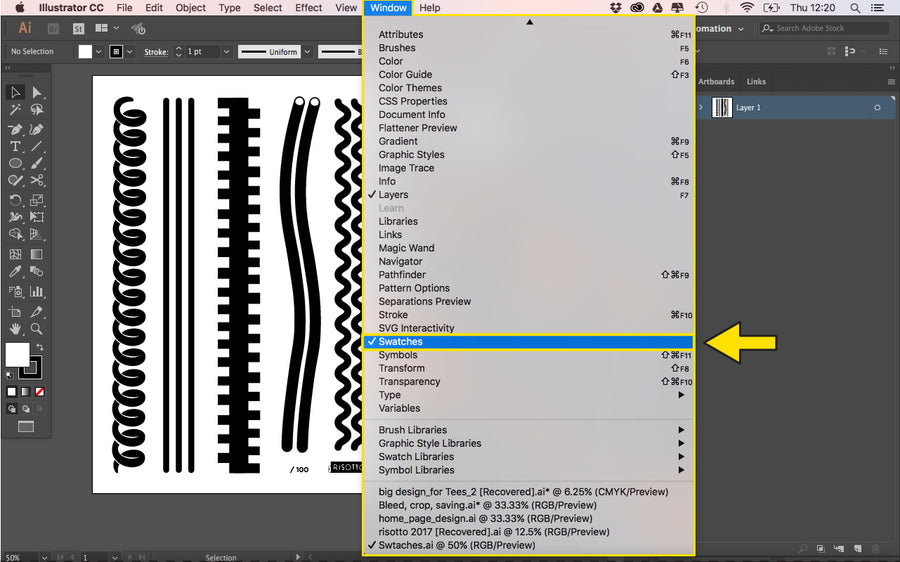
STEP 1: Open your file in Illustrator, and go to ‘Window’ and enable the ‘Swatches’ menu.
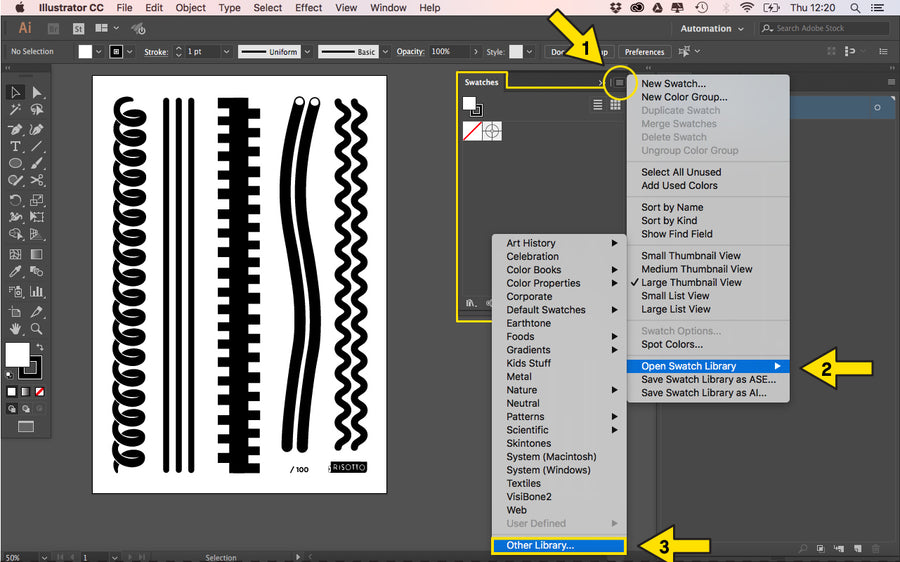
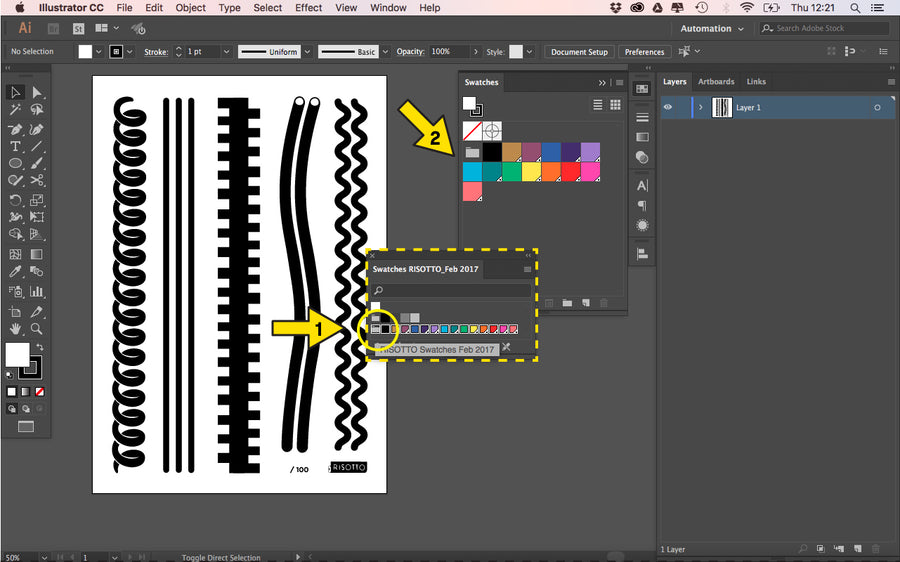
STEP 2: Click on the top right ‘Menu’ symbol of the ‘Swatches’ tab. A drop down will appear. Click ‘Open Swatch Library’, then click ‘Other Library’ at the bottom.
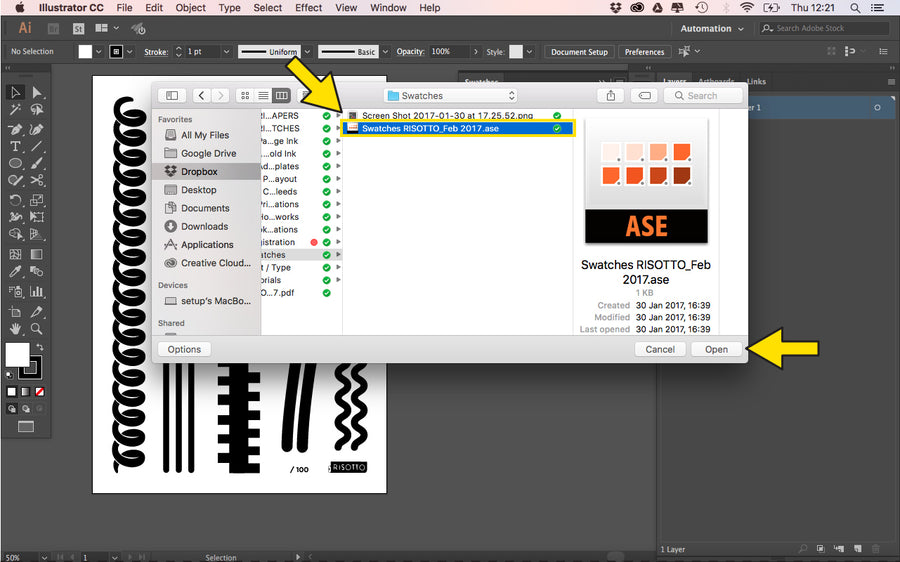
STEP 3: A finder menu will appear. Locate your latest download of our ‘Swatches RISOTTO.ase’ file, (It might be in your downloads) and ‘Open’.
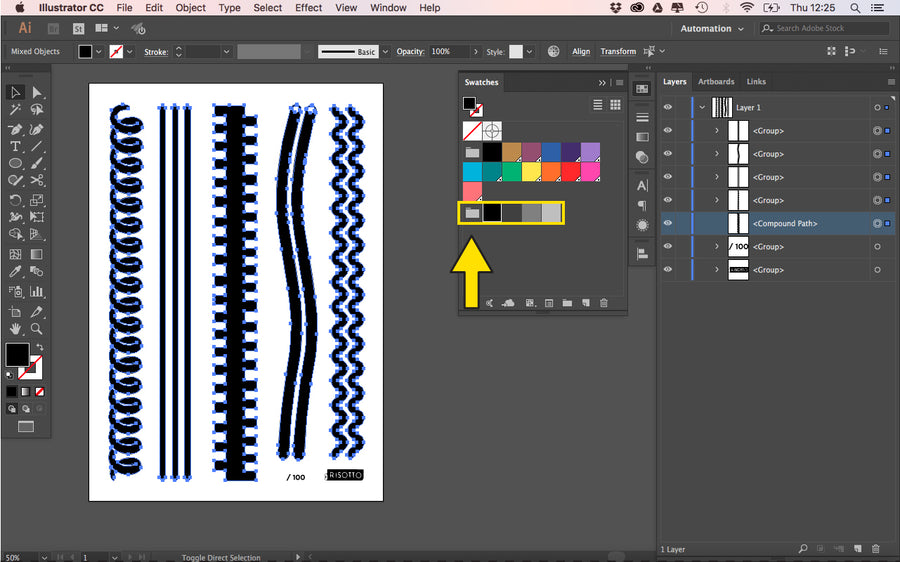
STEP 4: A new box will appear with our inks, and Greyscale levels. Click on the folder icon at the start of each pallette, to activate them in your ‘Swatch’ tab.
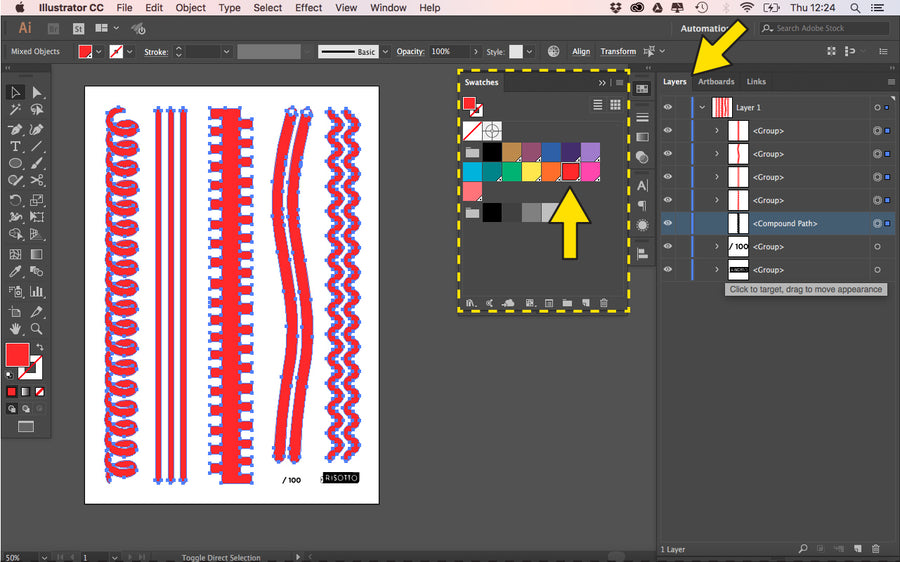
STEP 5: You can now select elemens to mock up using our inks. N.B These tones will vary from screen to screen. Order our samples to see printed inks in the flesh!
STEP 6: Remember - set your artwork to Greyscale before saving for print. We do like to see a mock-up too, so we can advise and match your print as close as possible.